Terrazzino
Terrazzino Self Leveling Epoxy Floor
Terrazzino Self Leveling Epoxy Floor
Couldn't load pickup availability
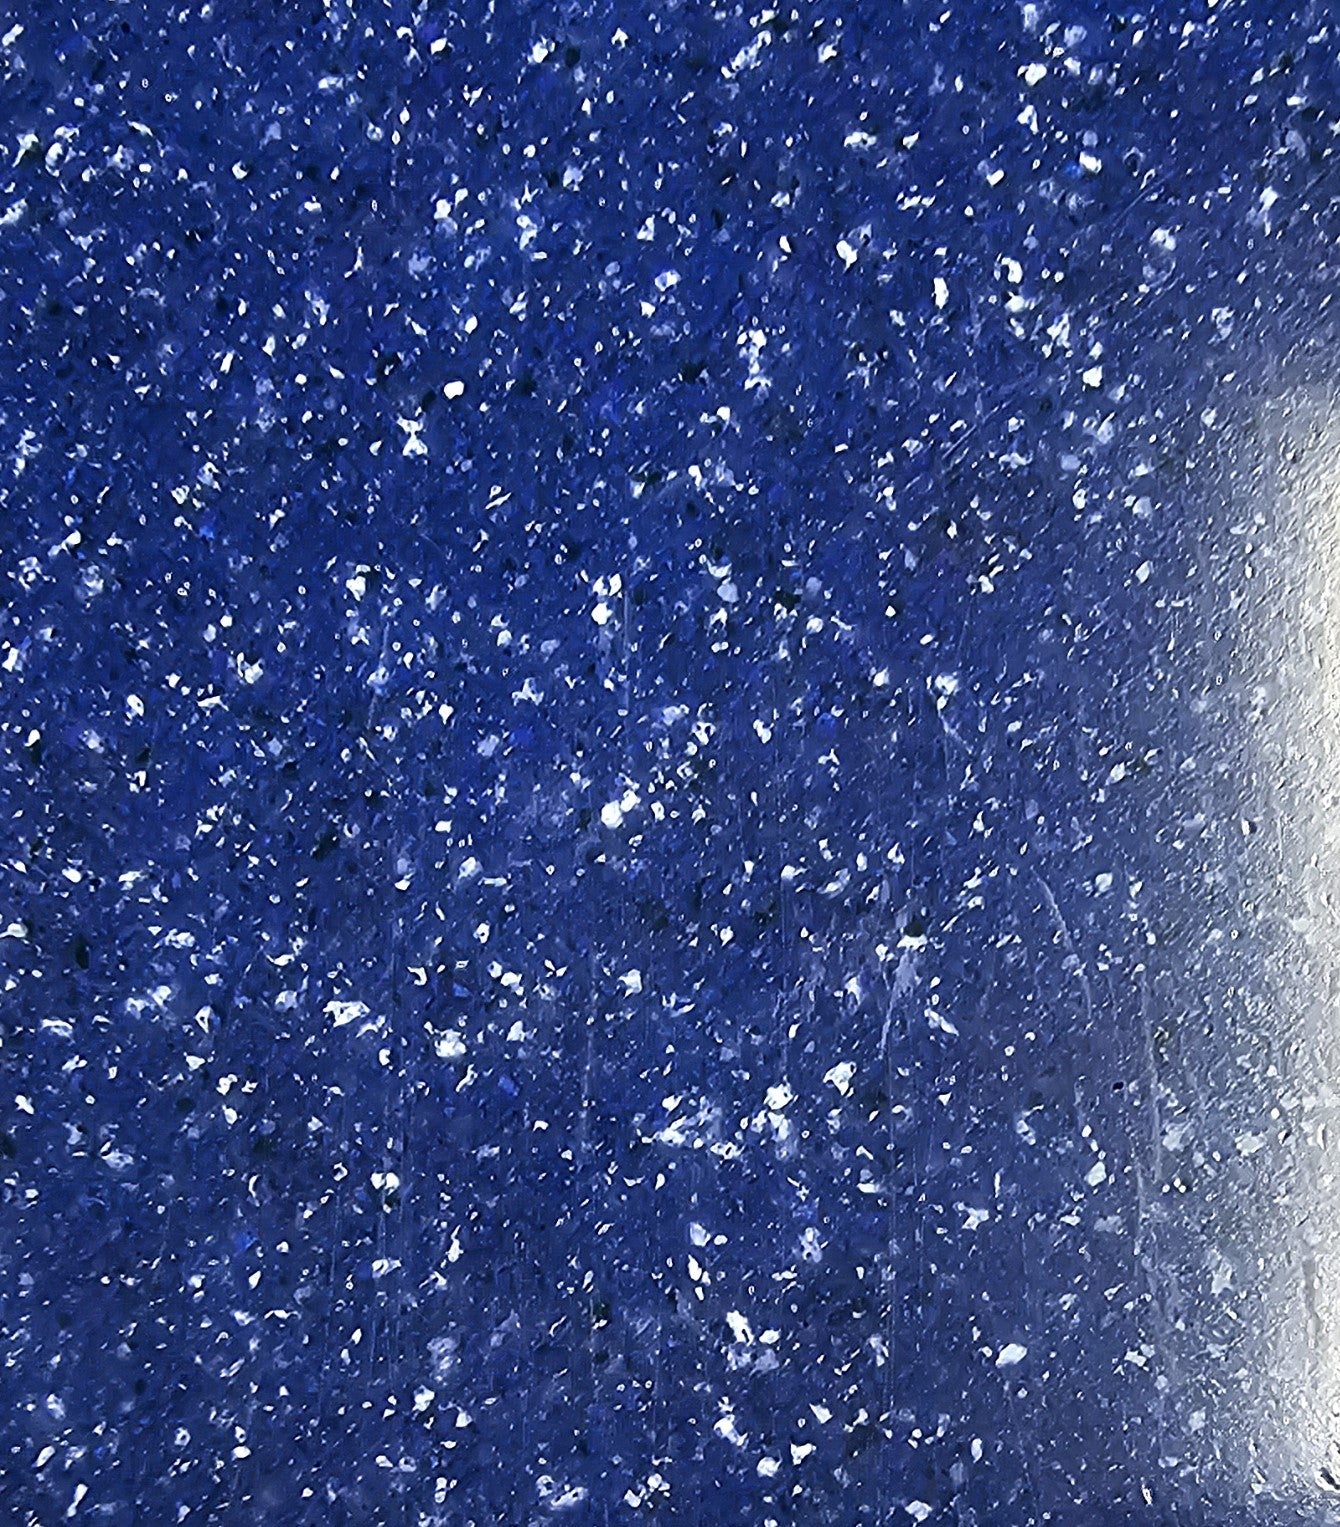
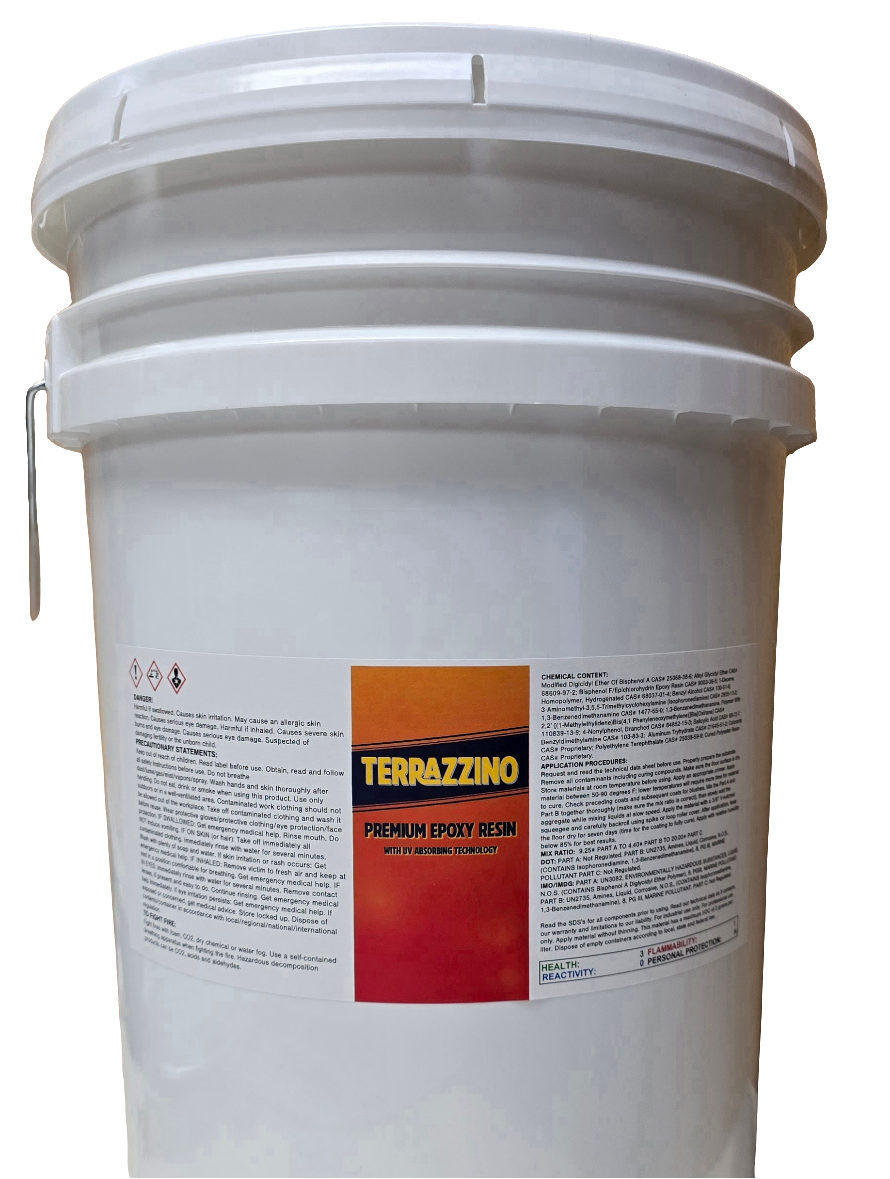
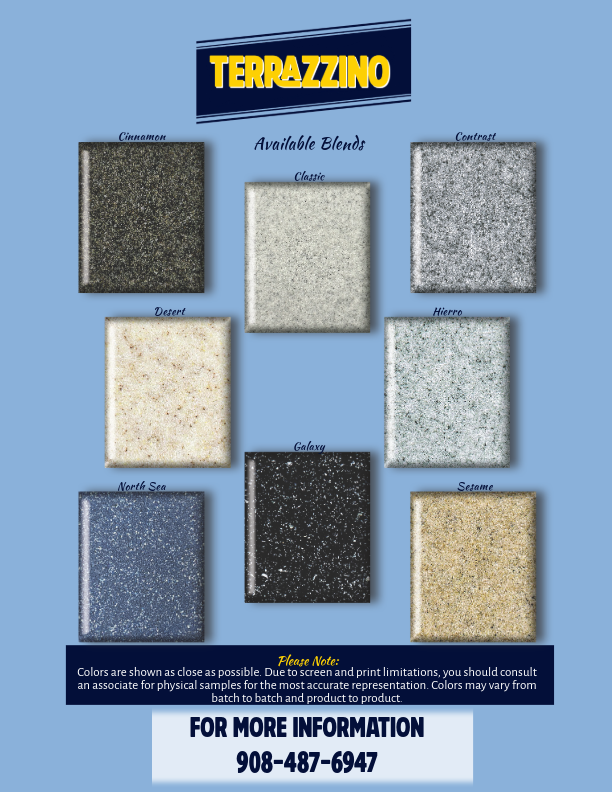
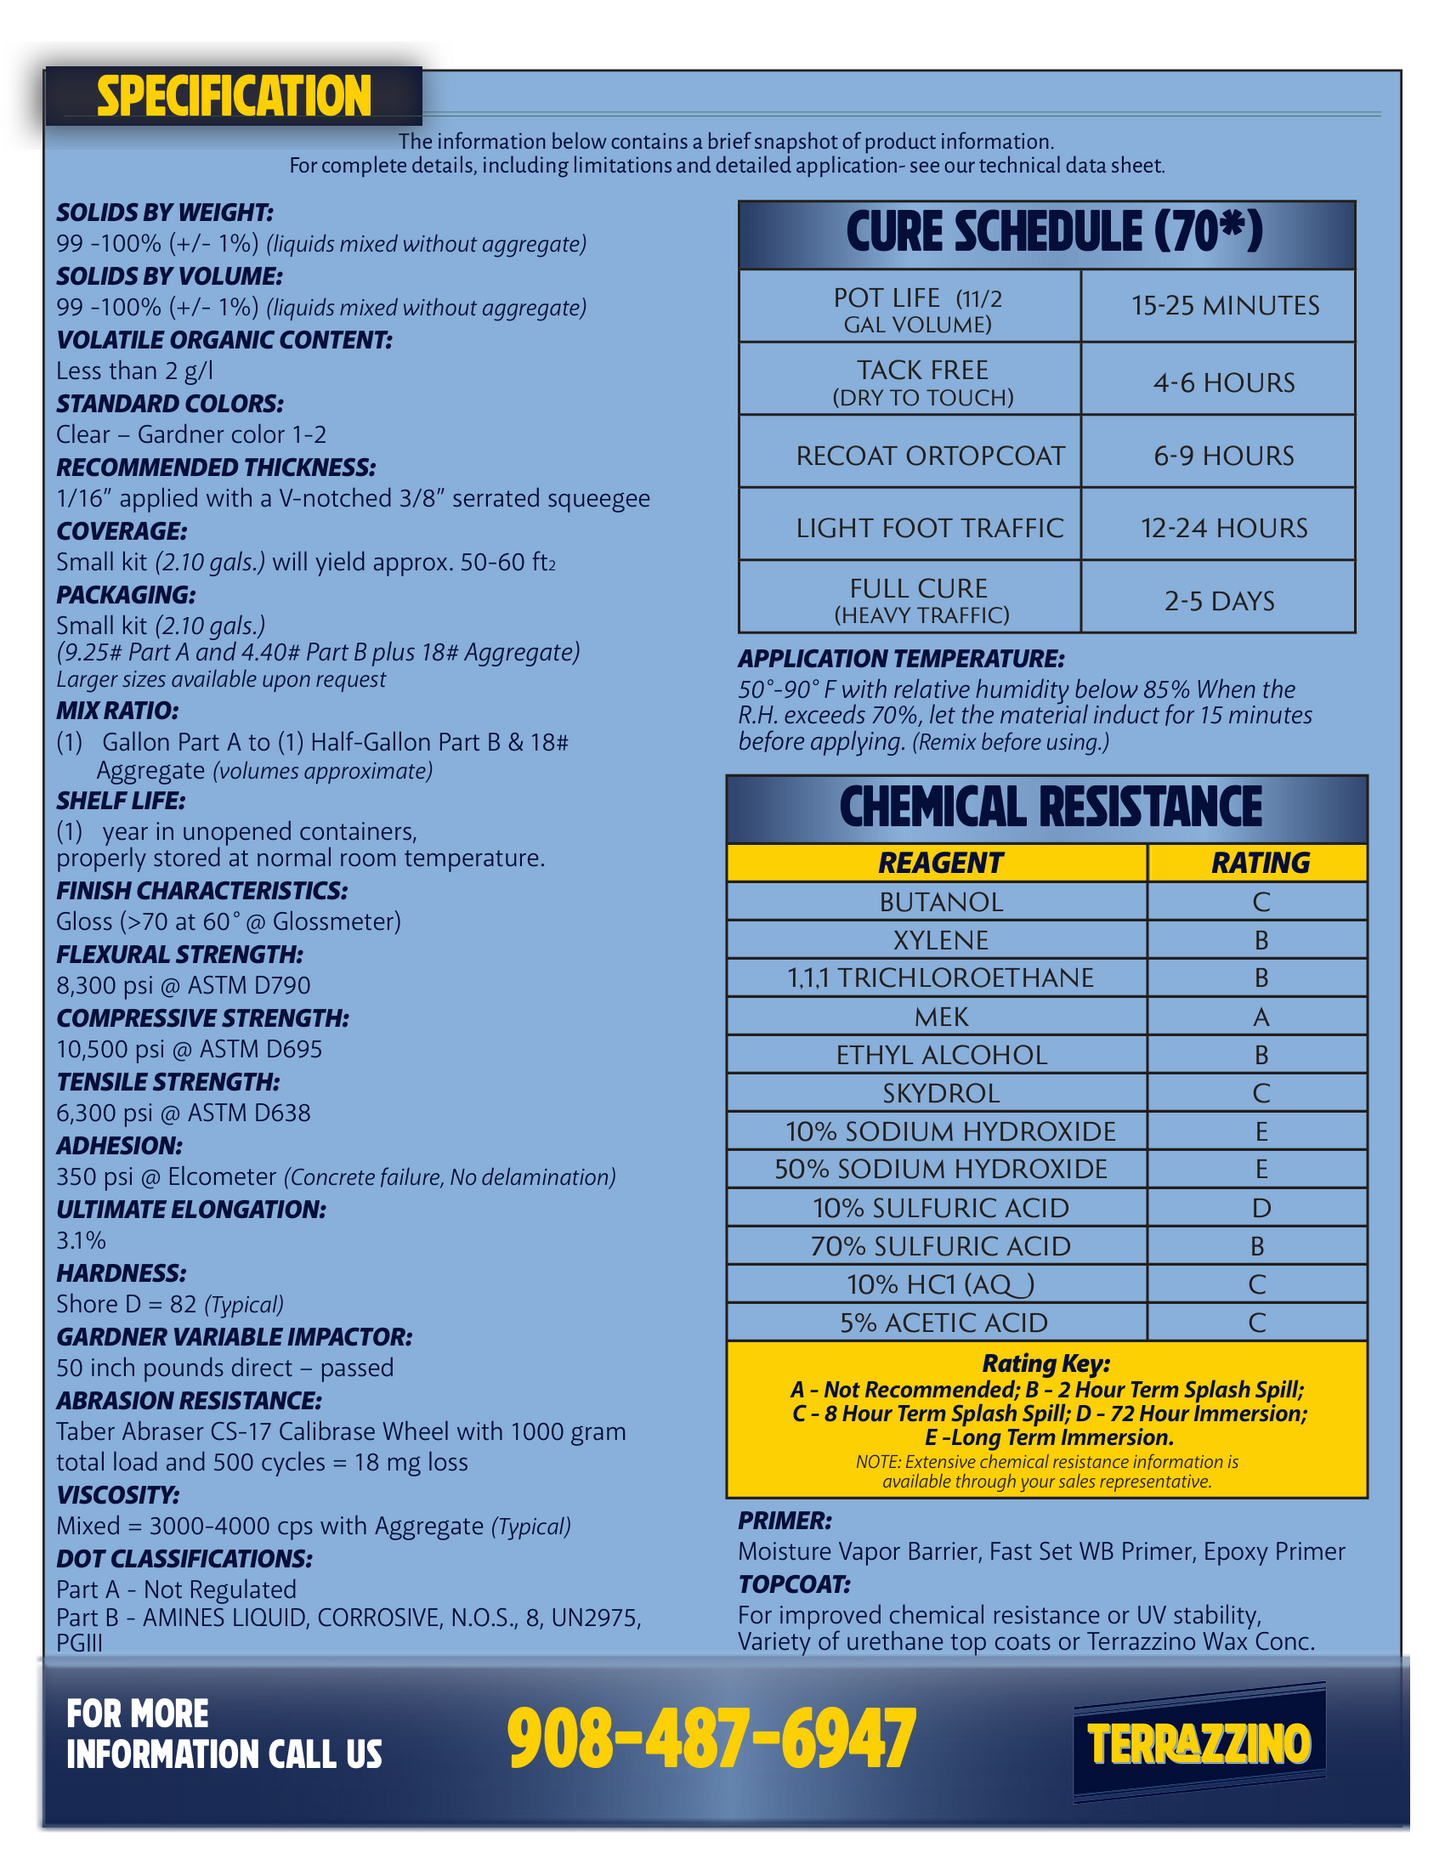
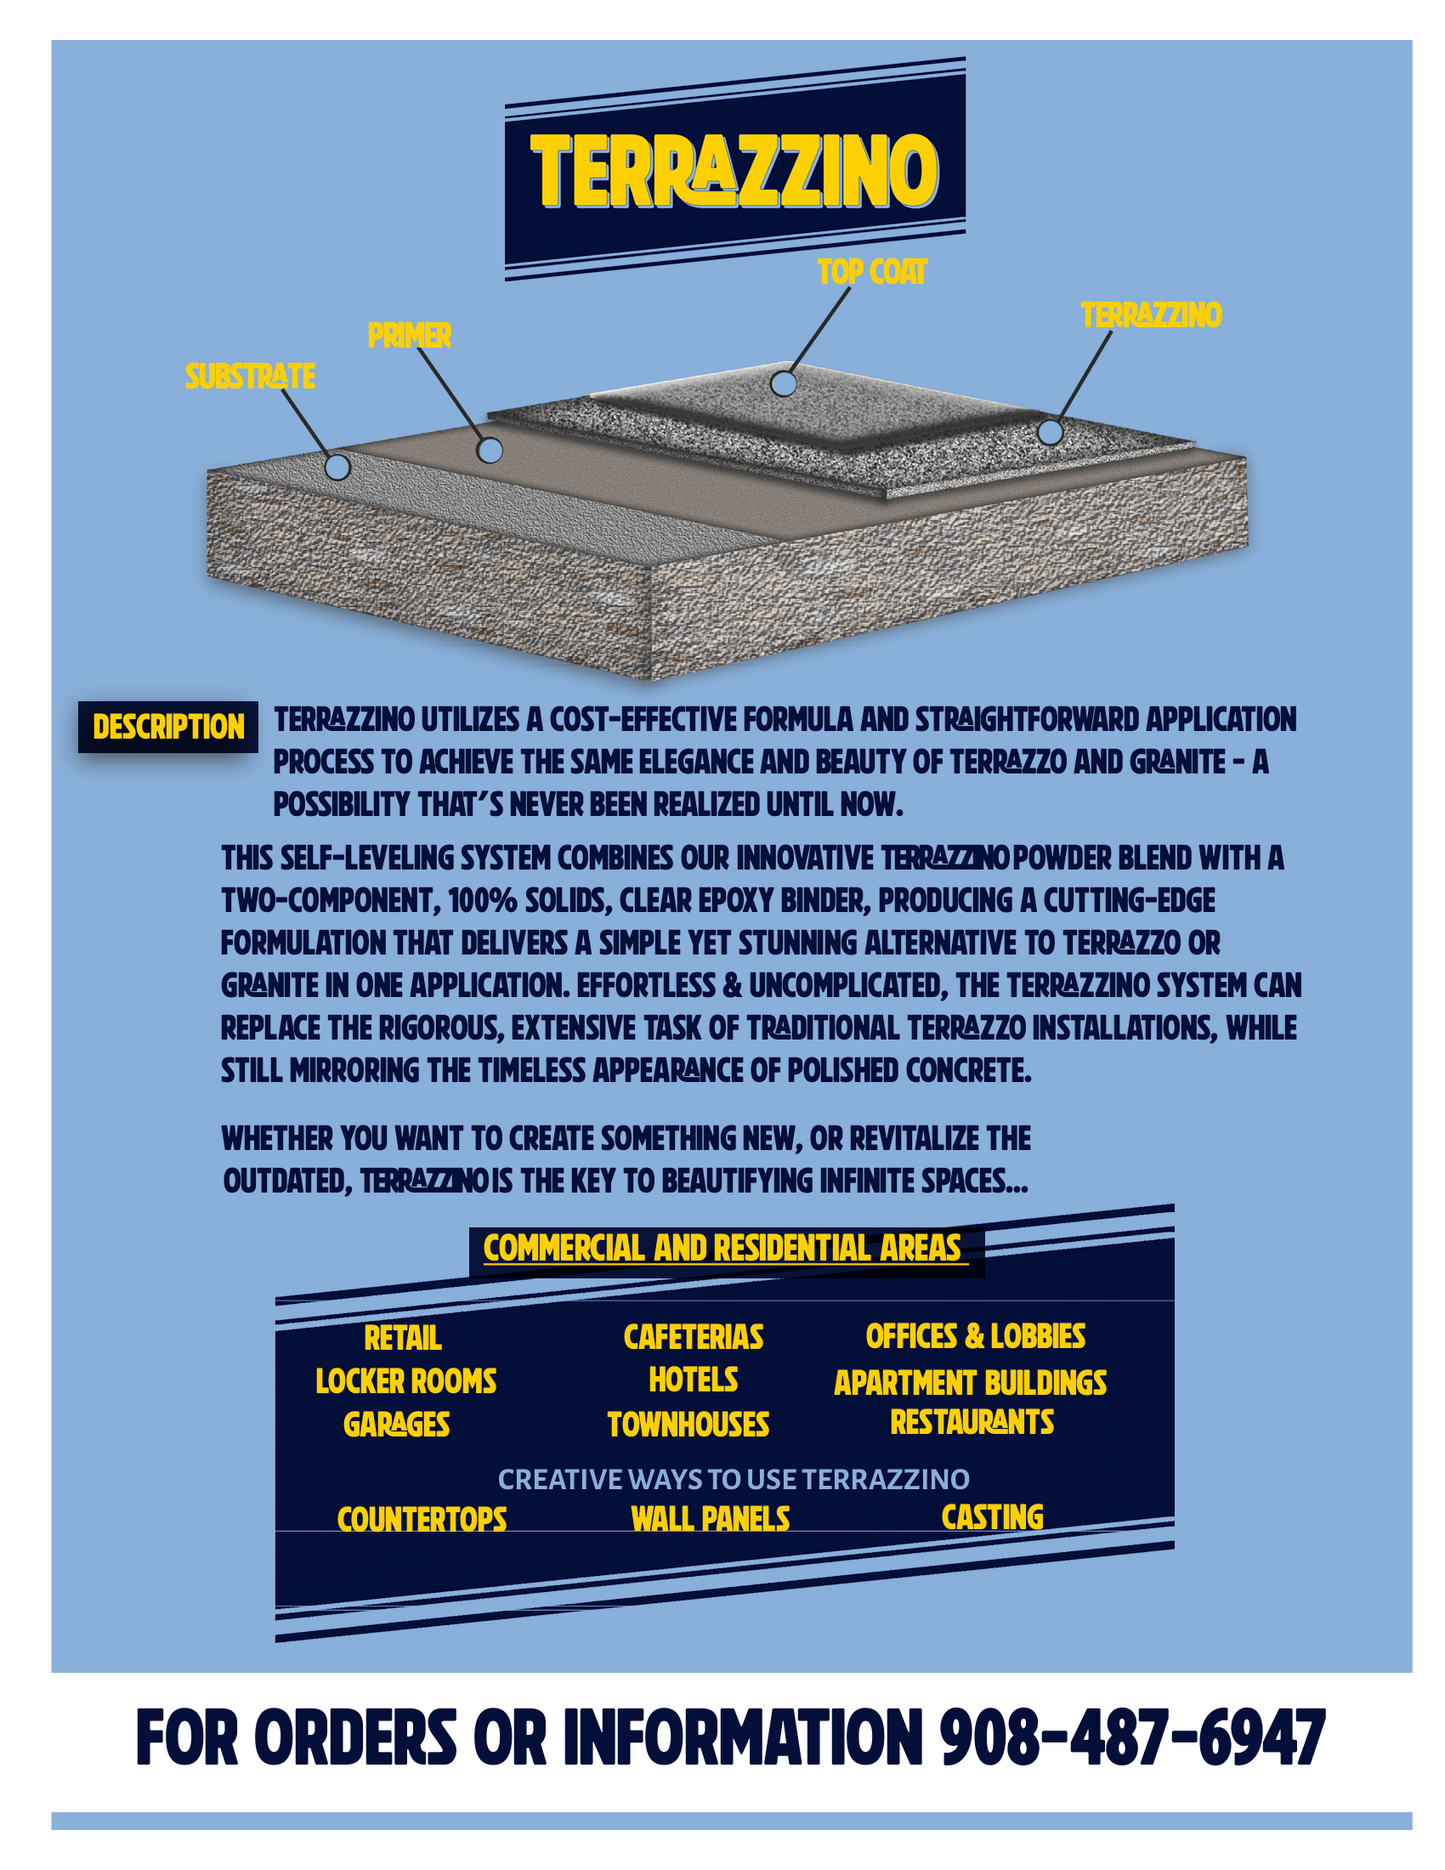
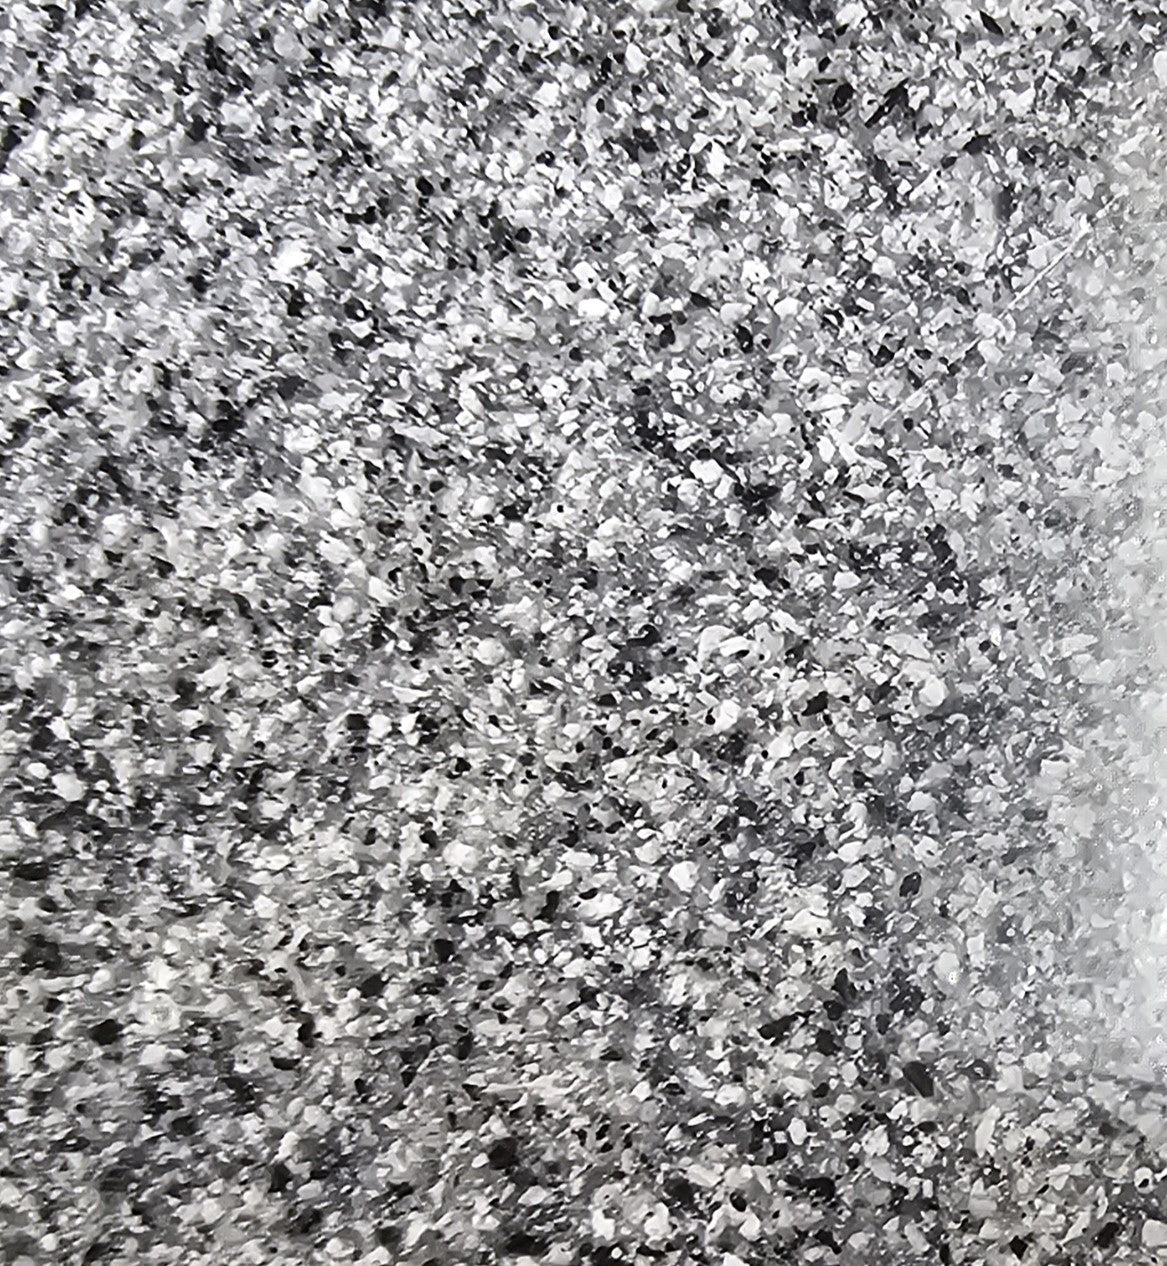
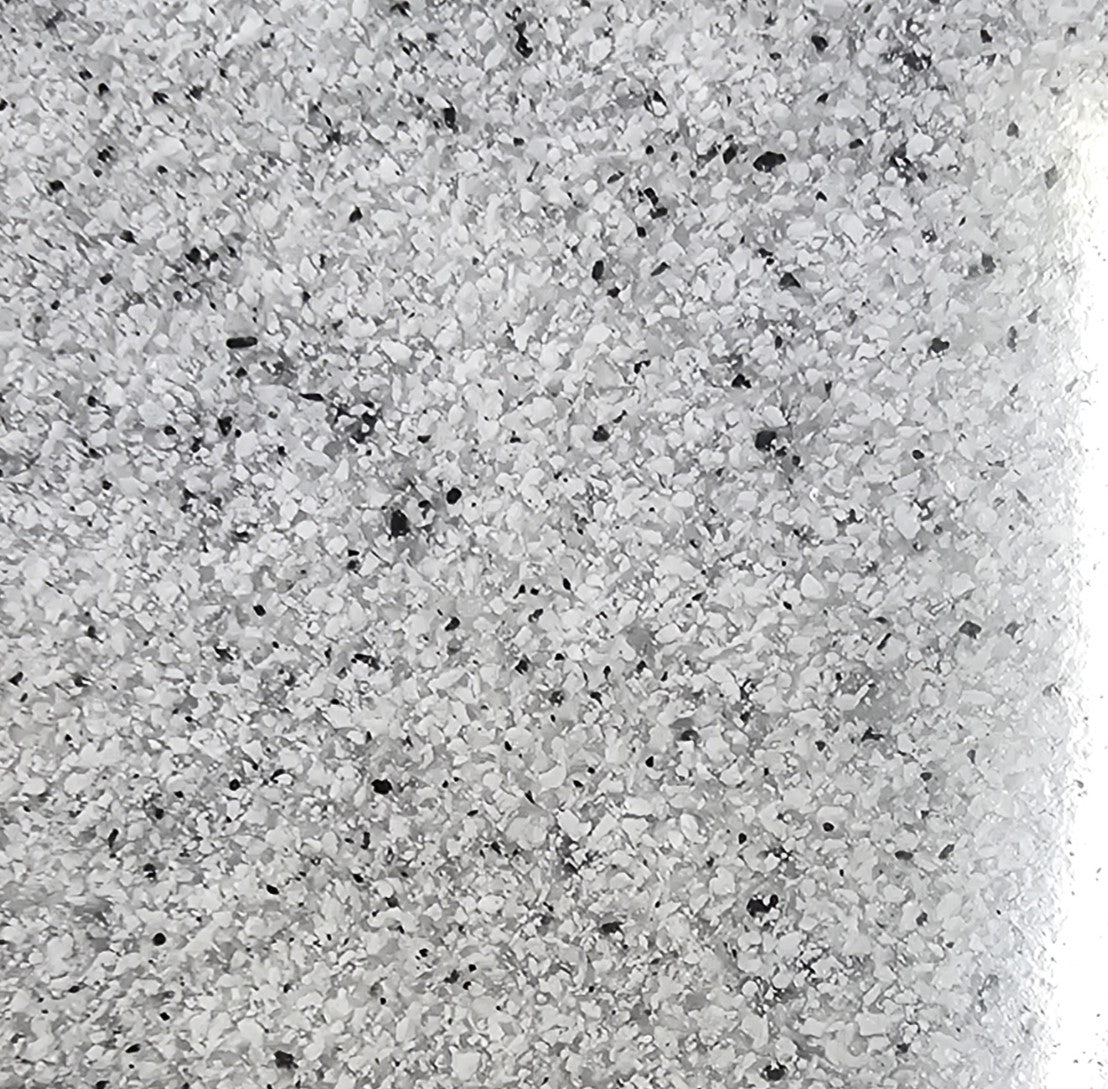
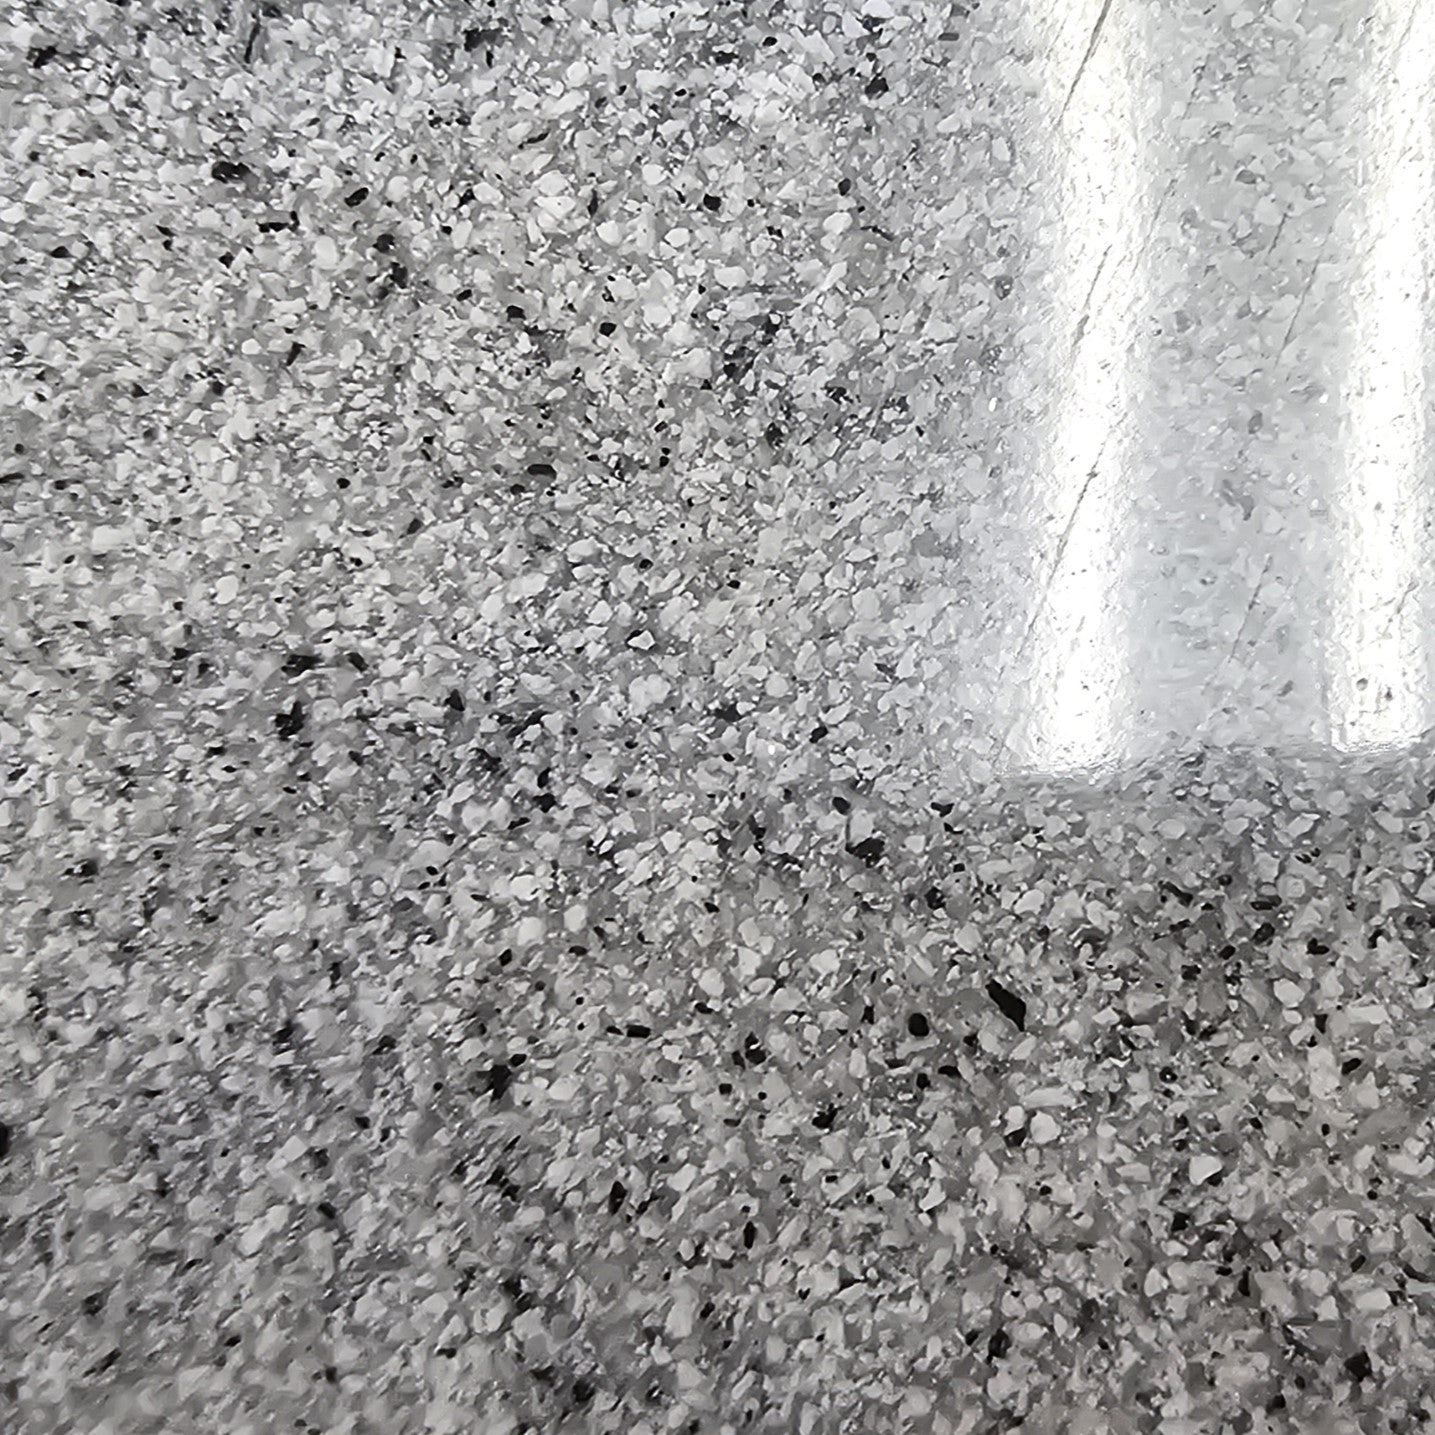
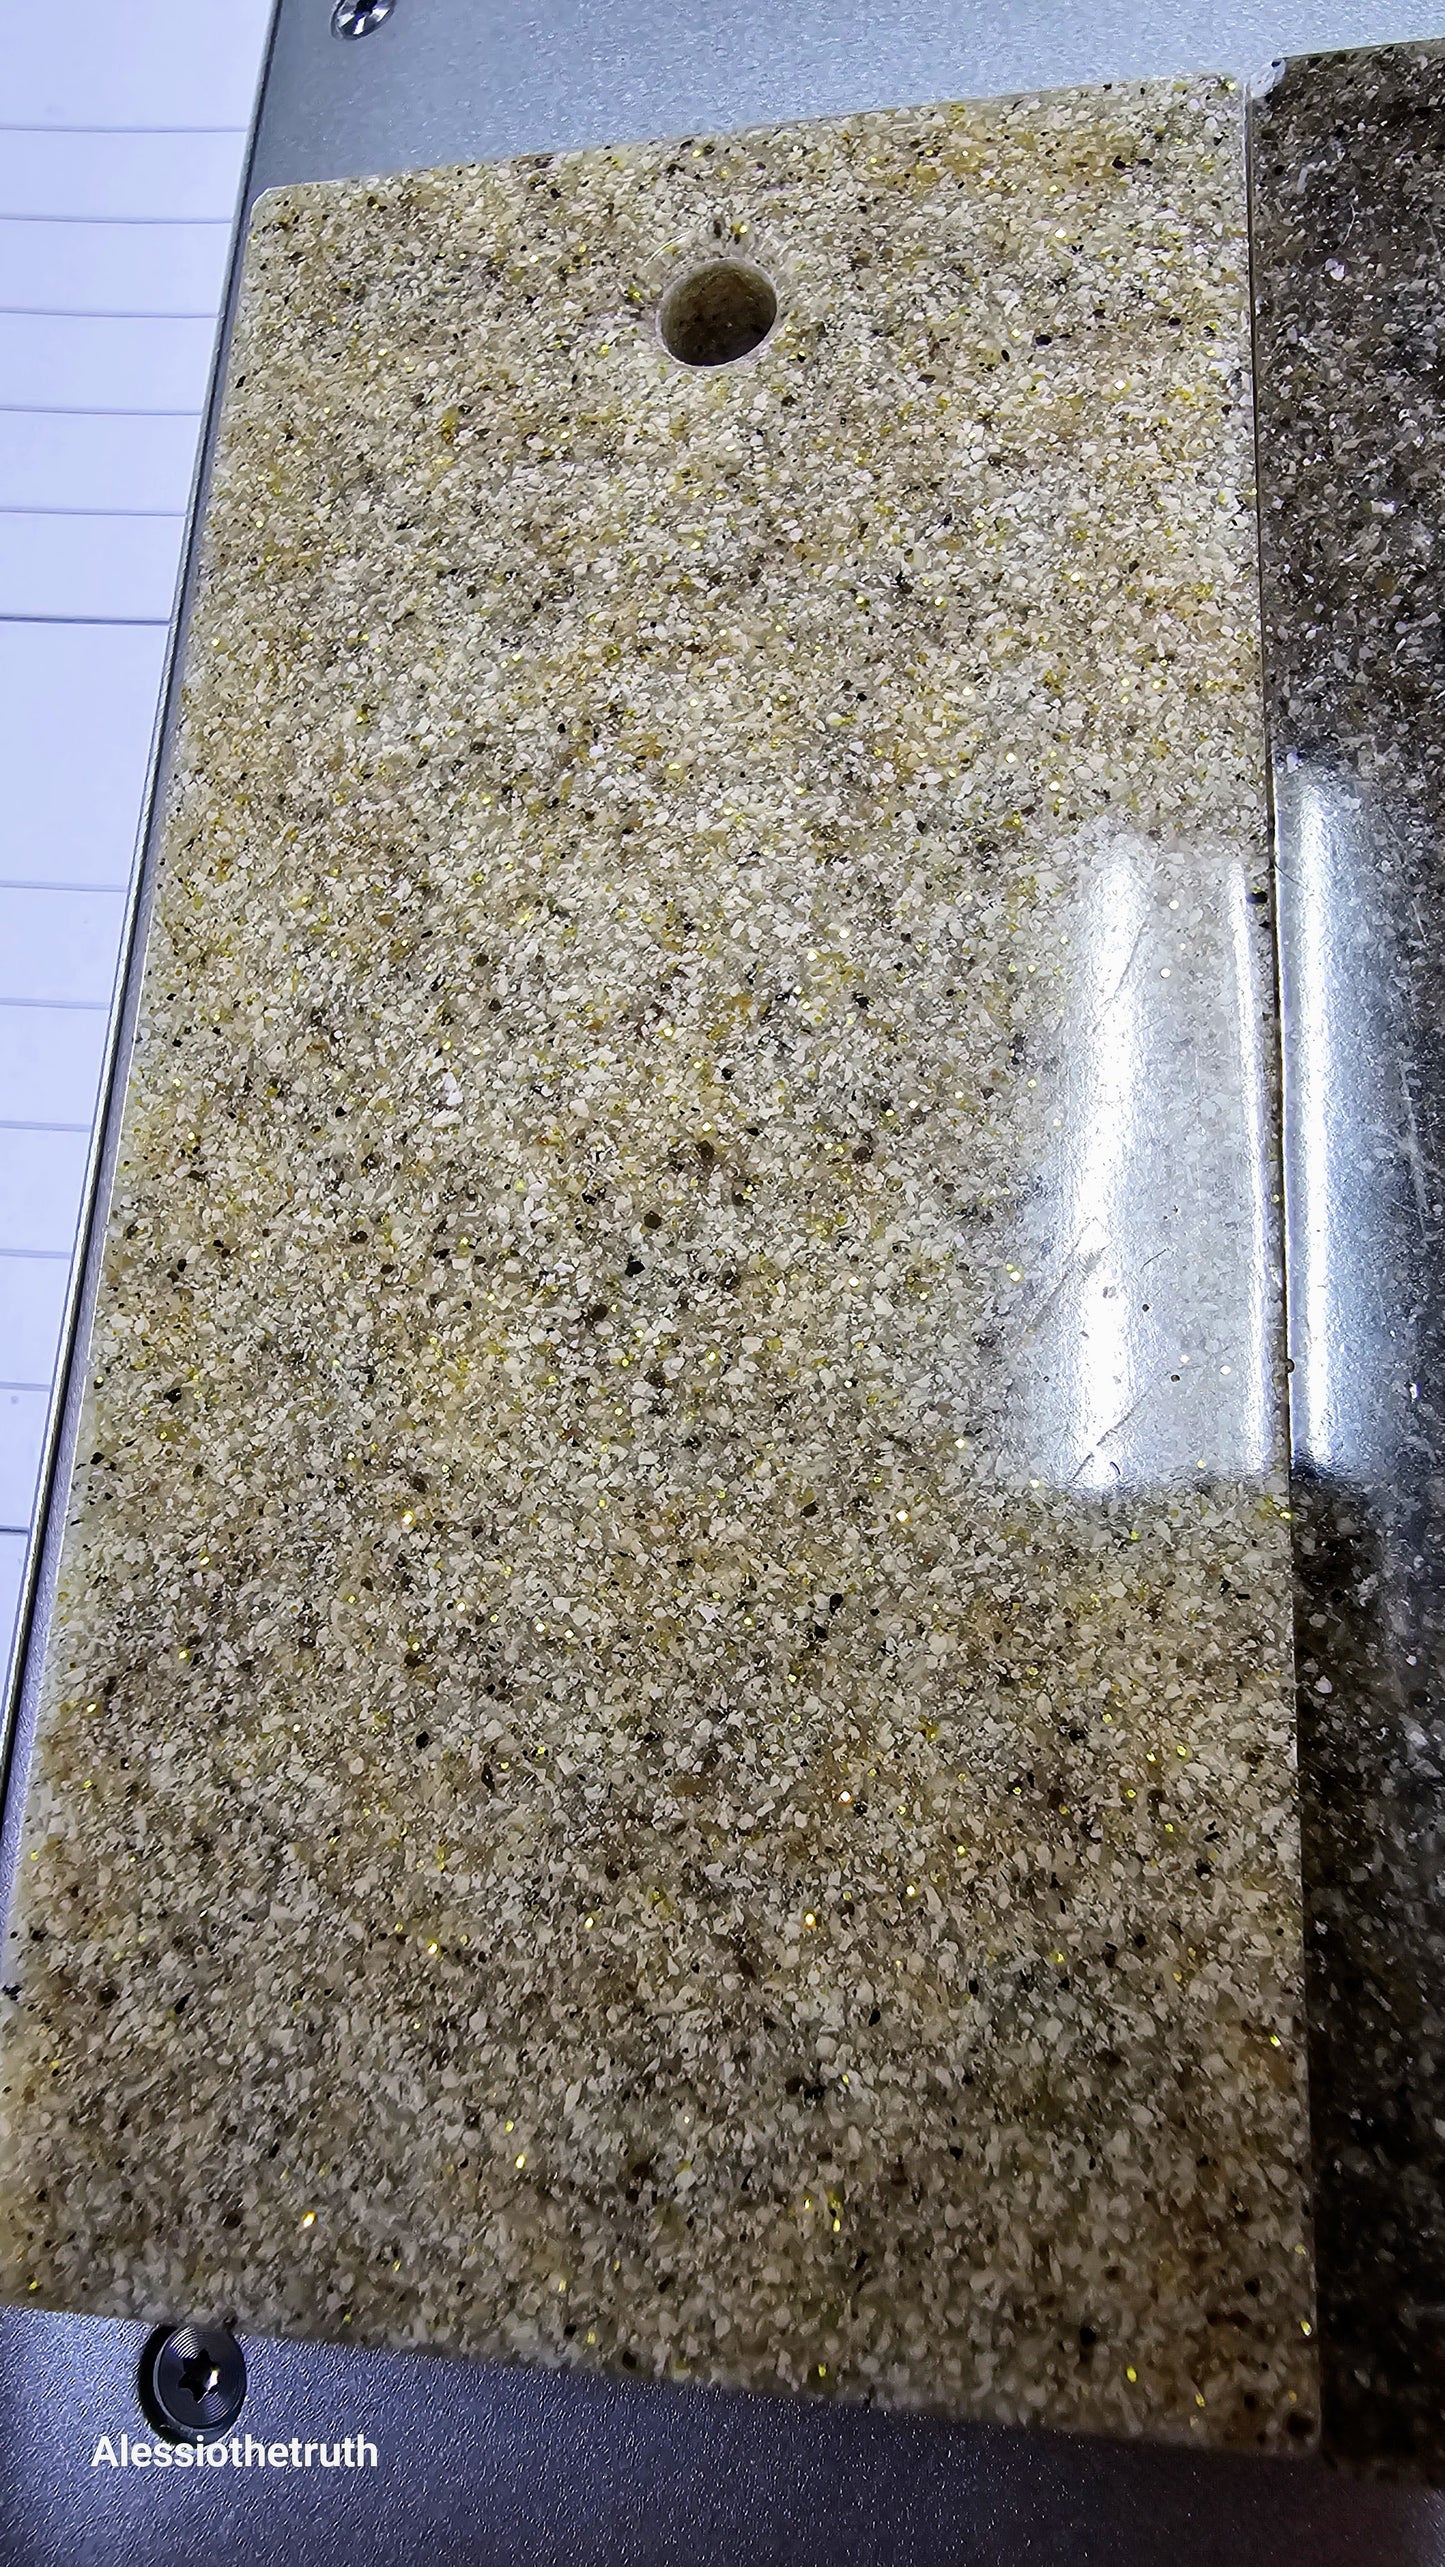
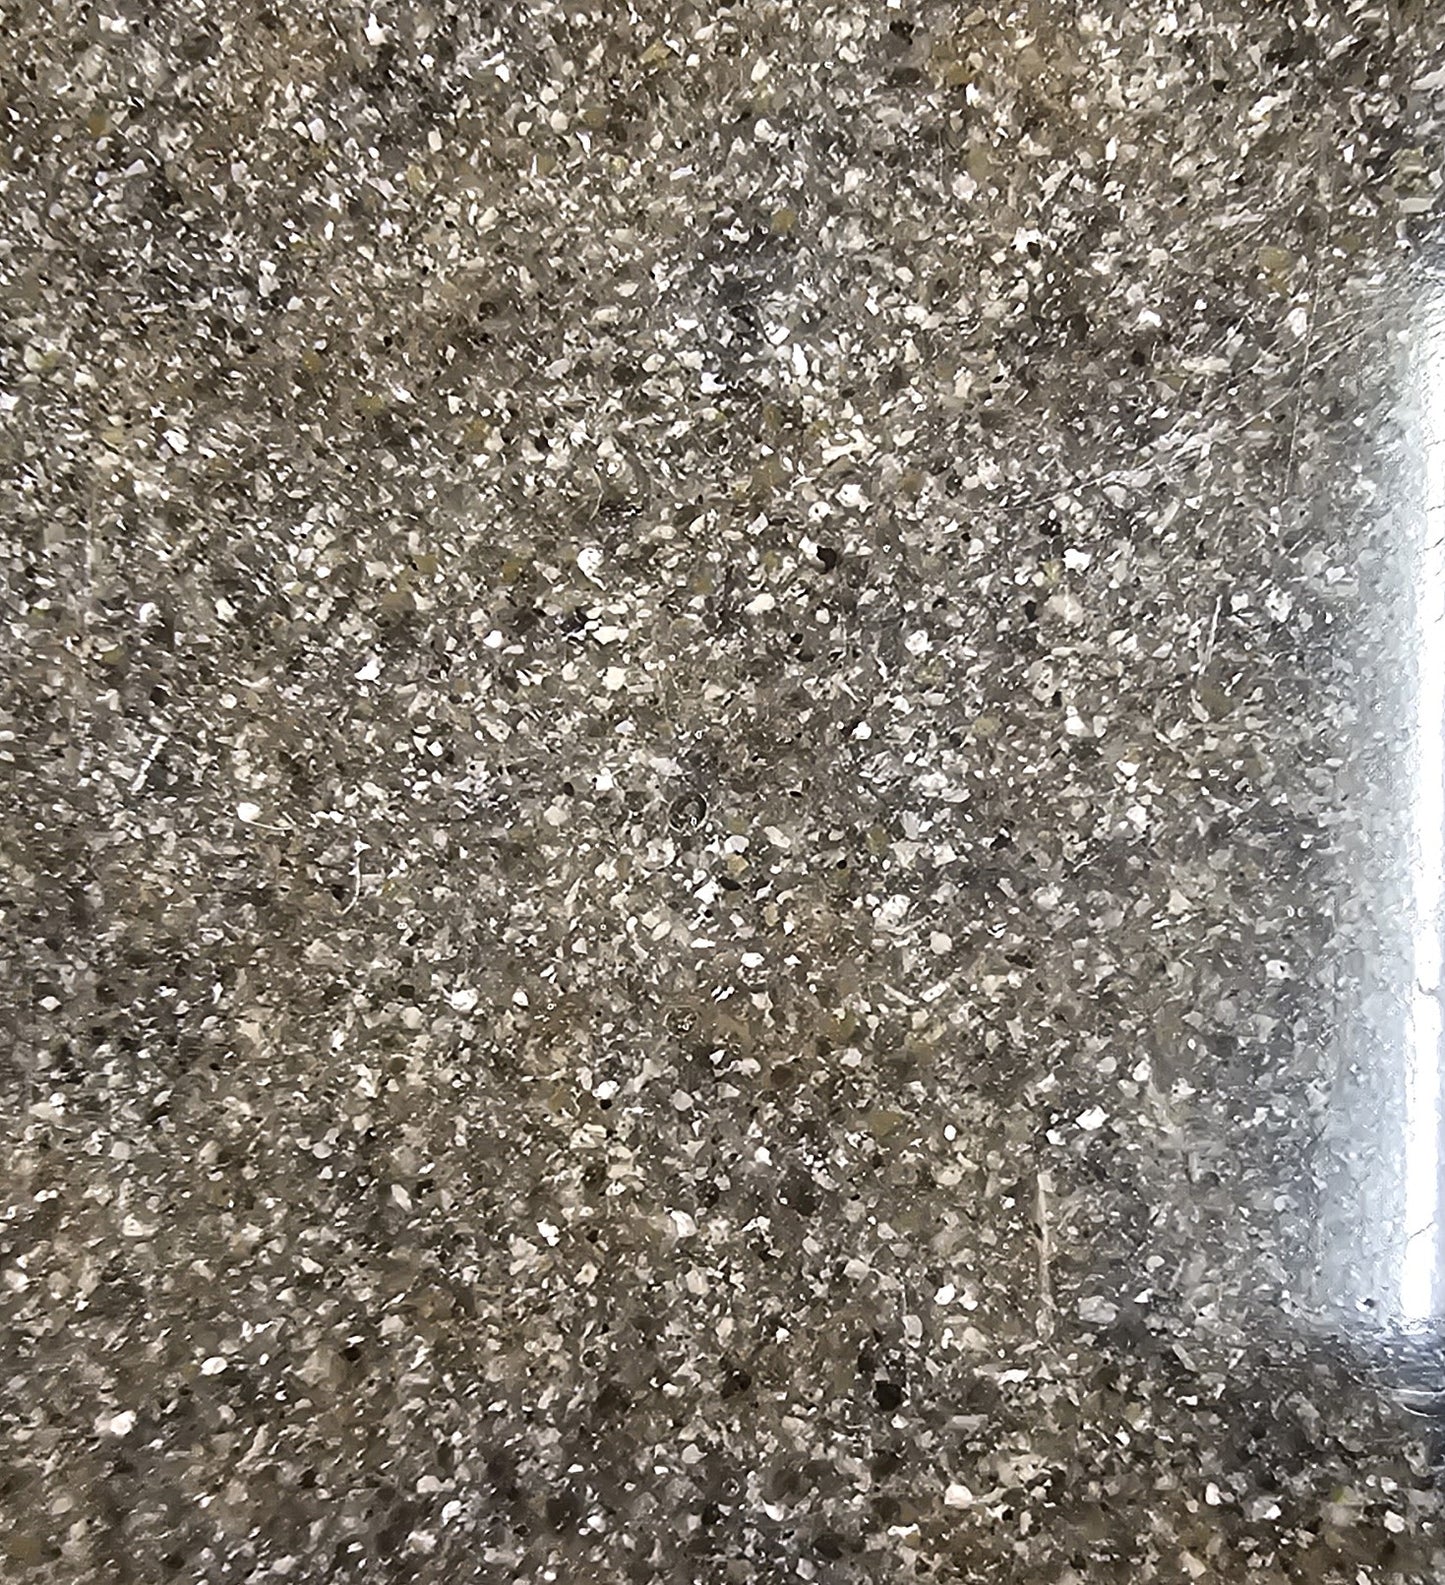
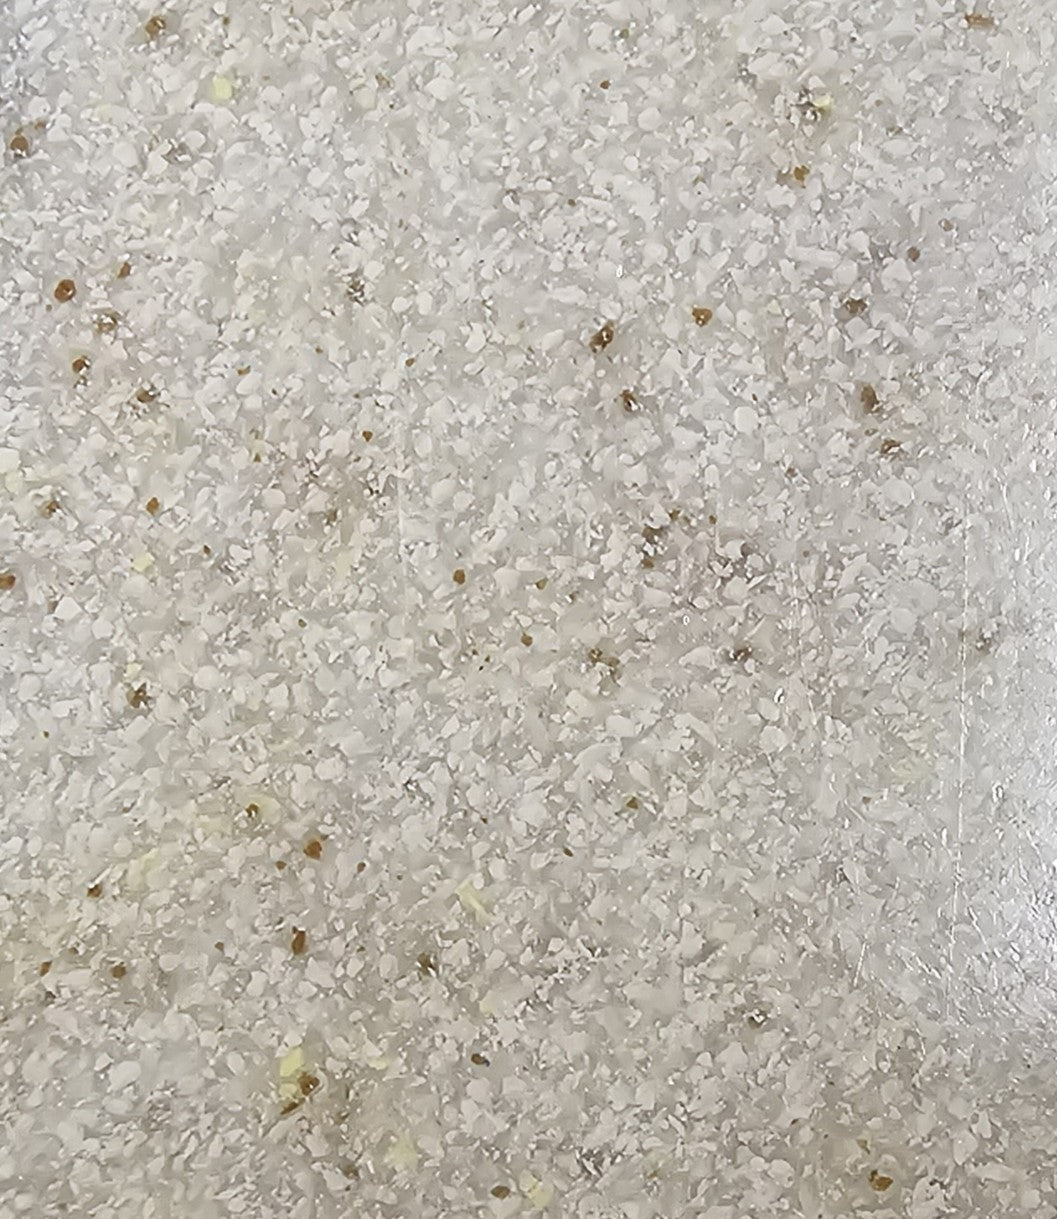
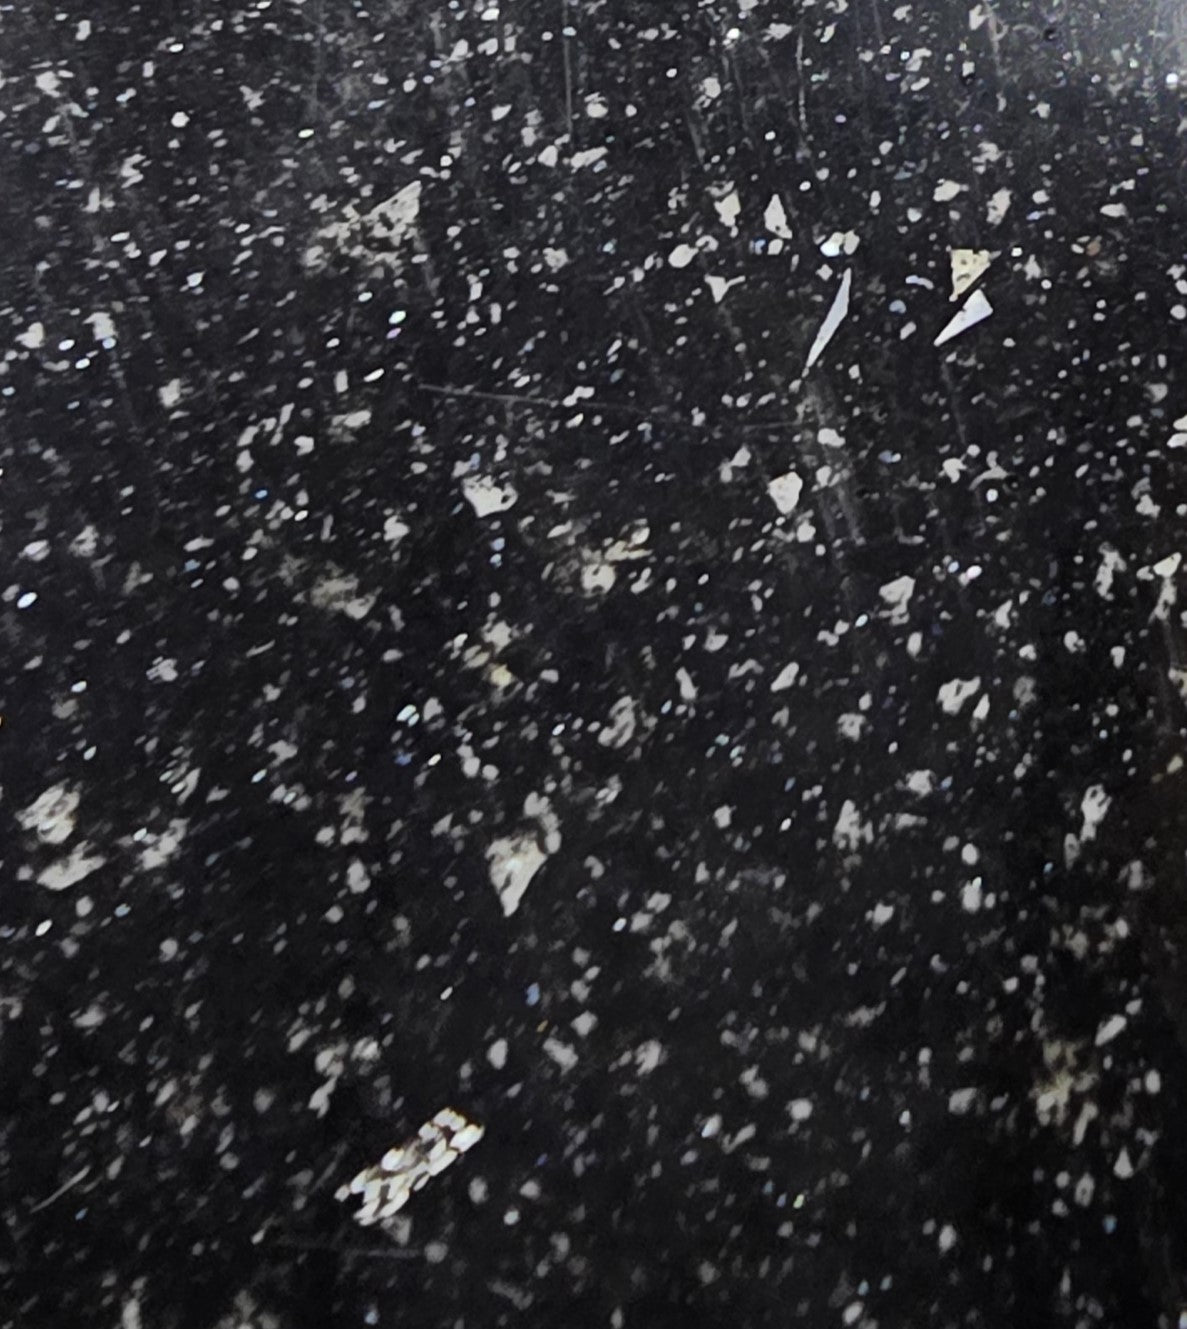
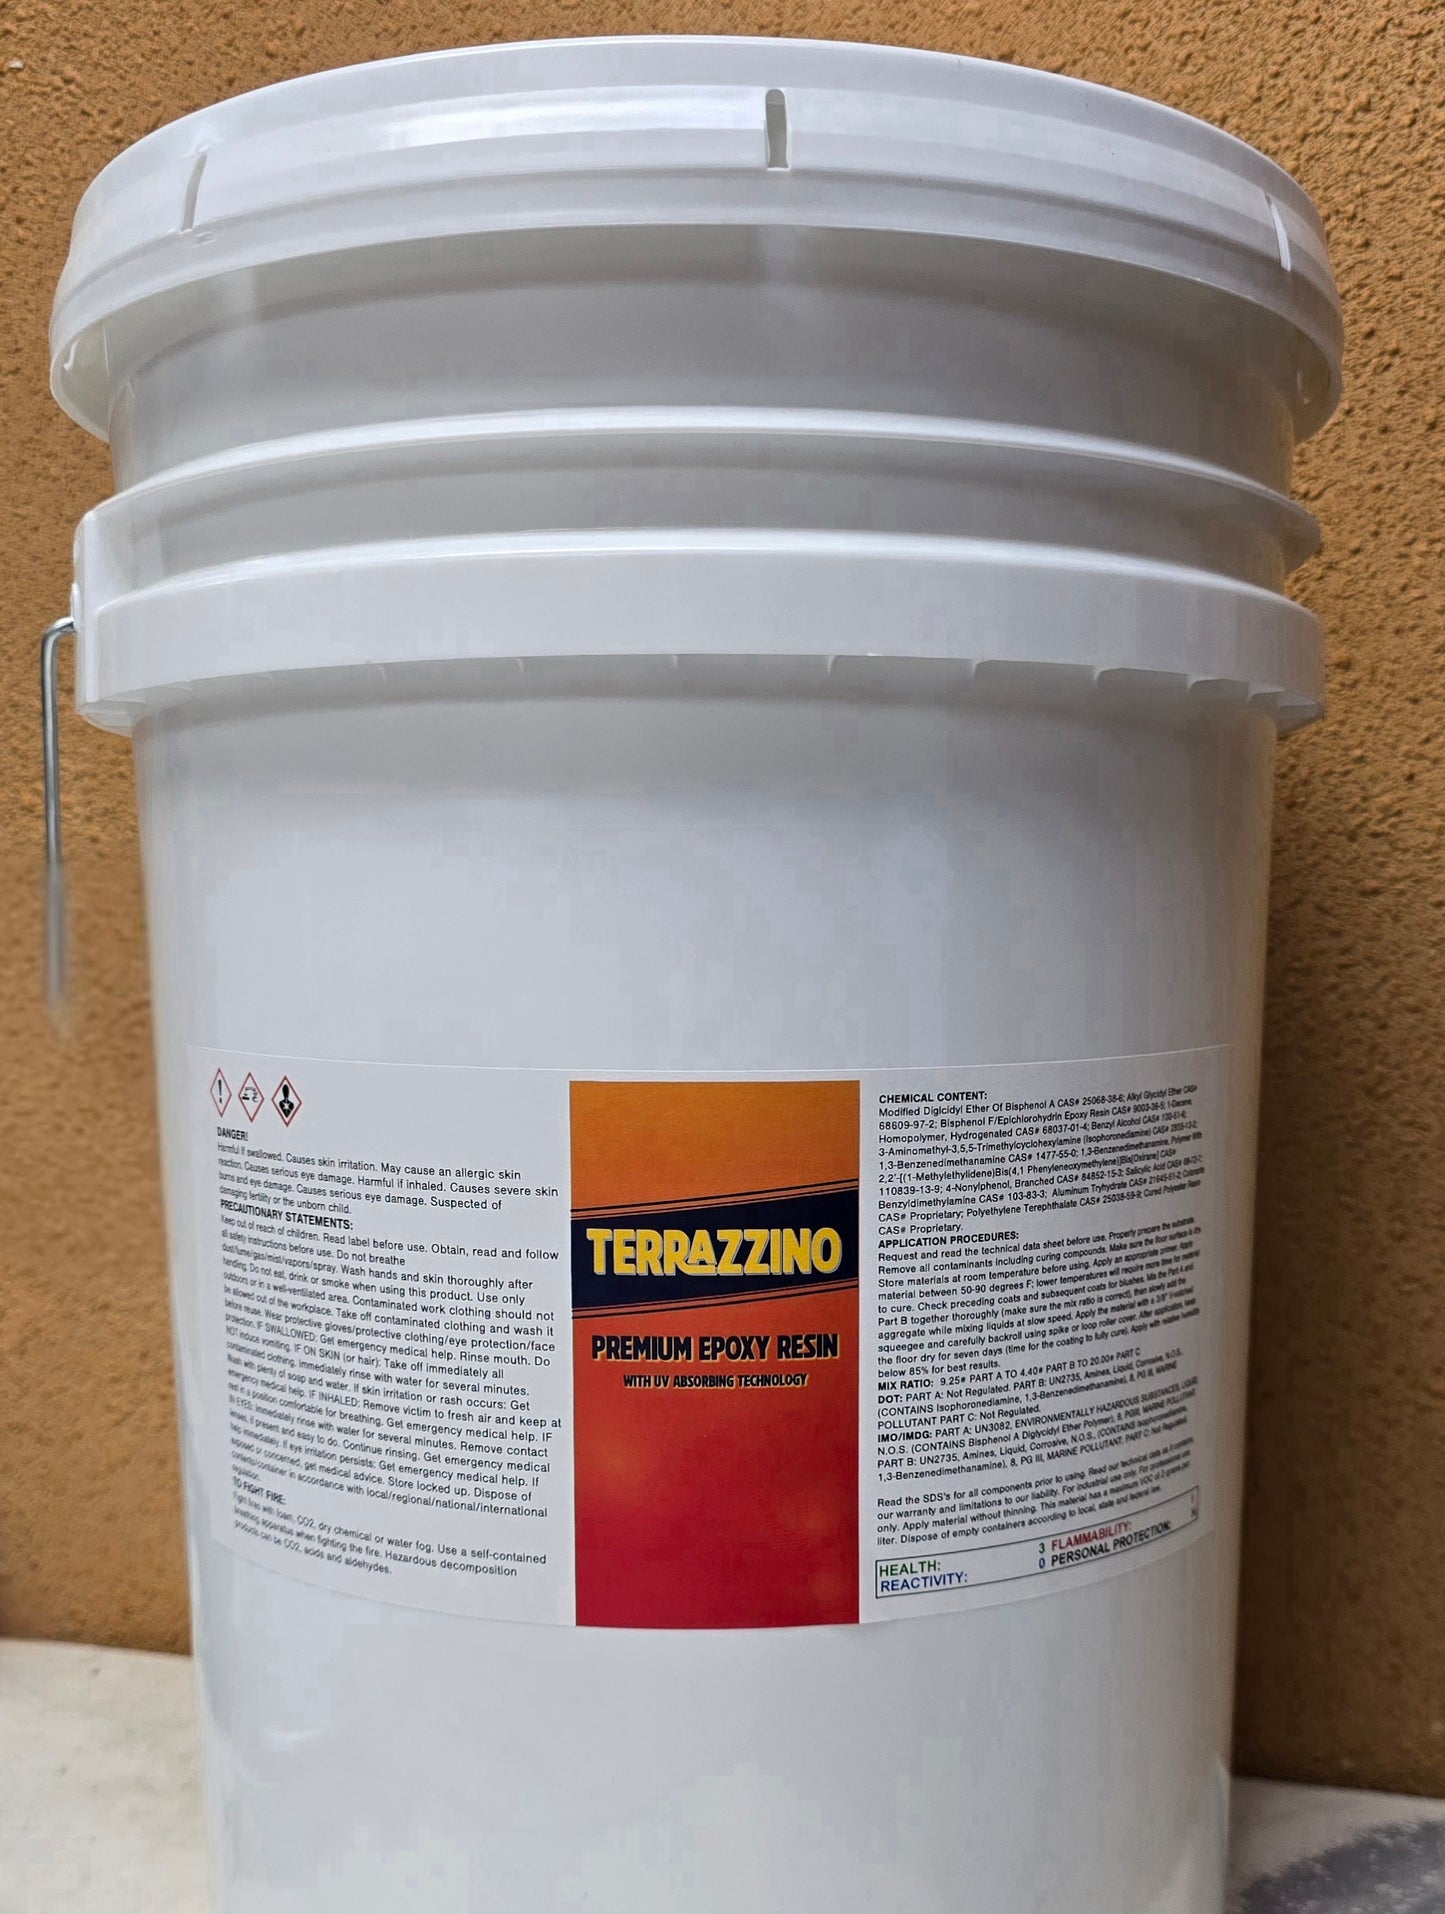
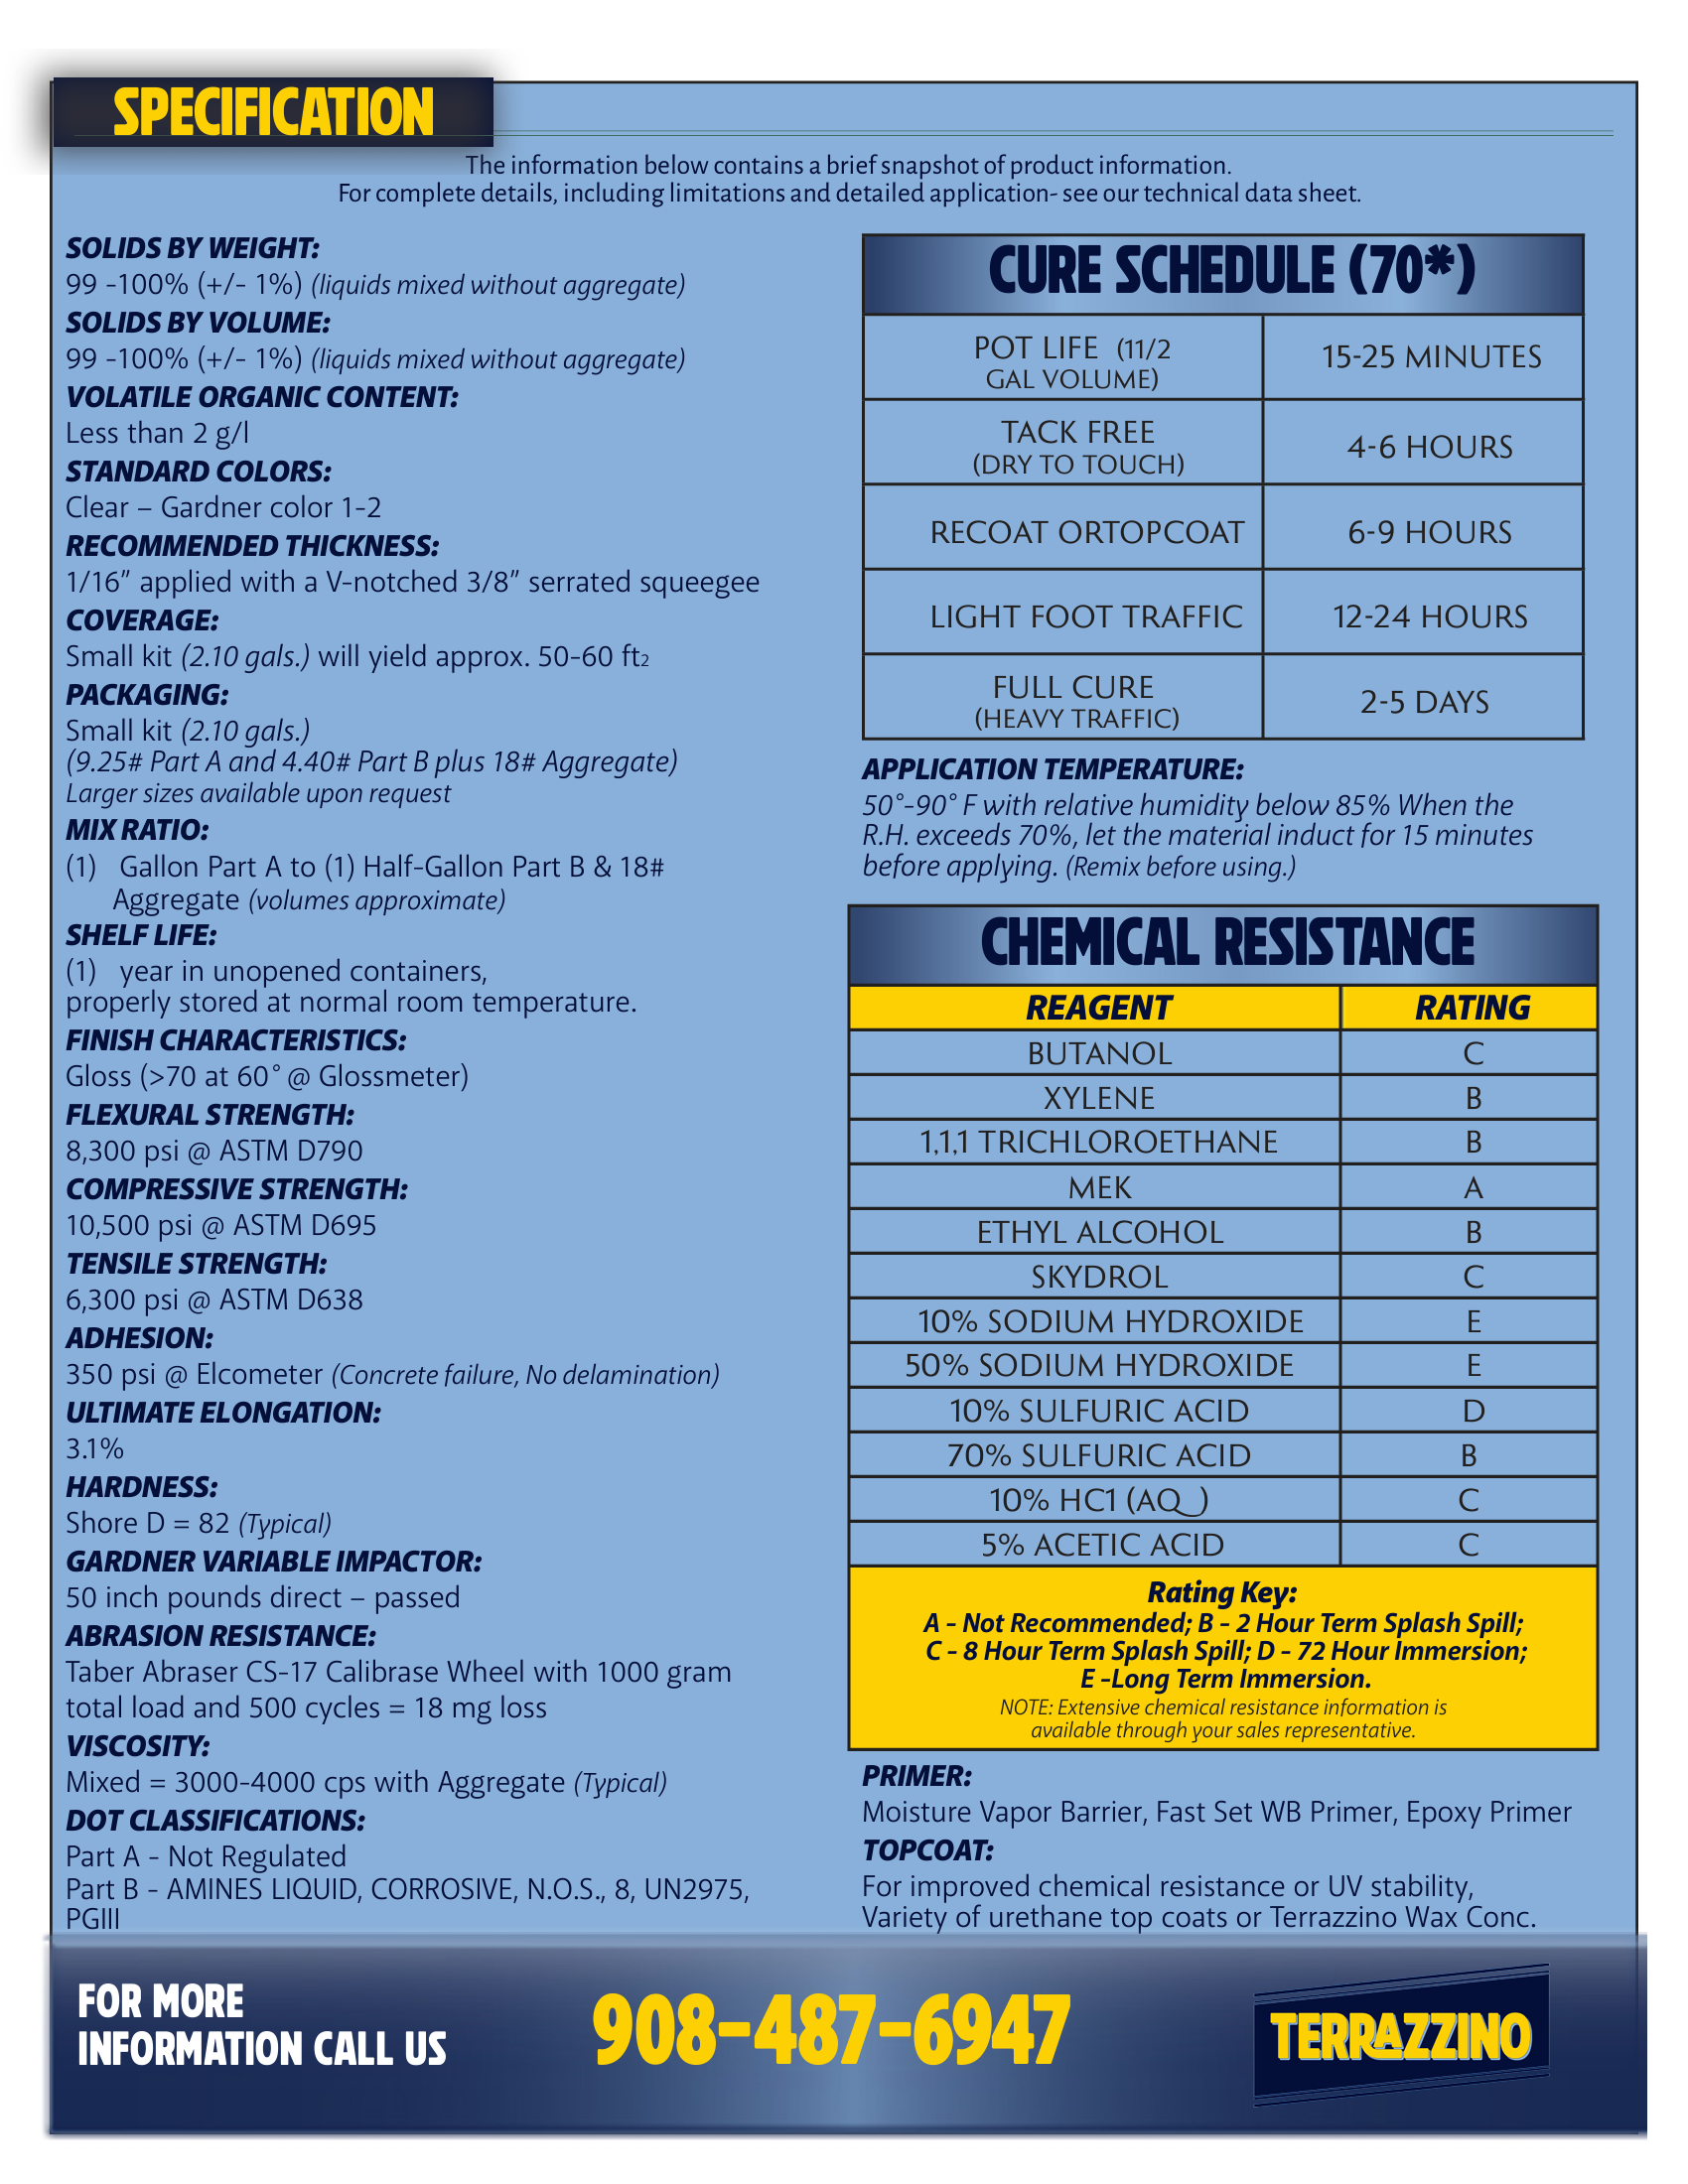
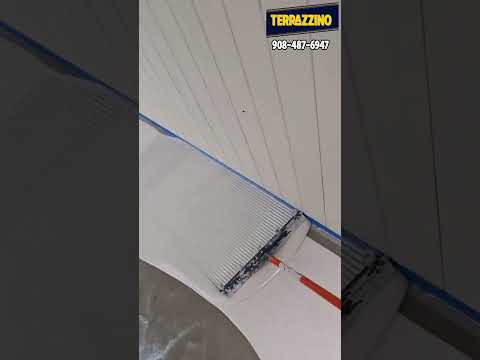
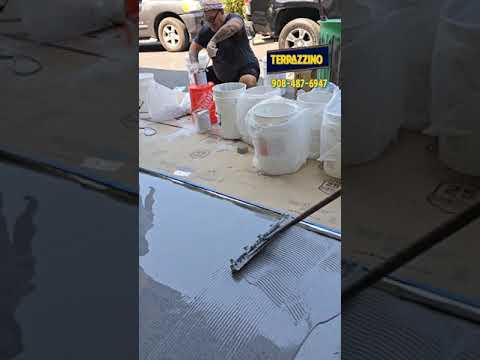
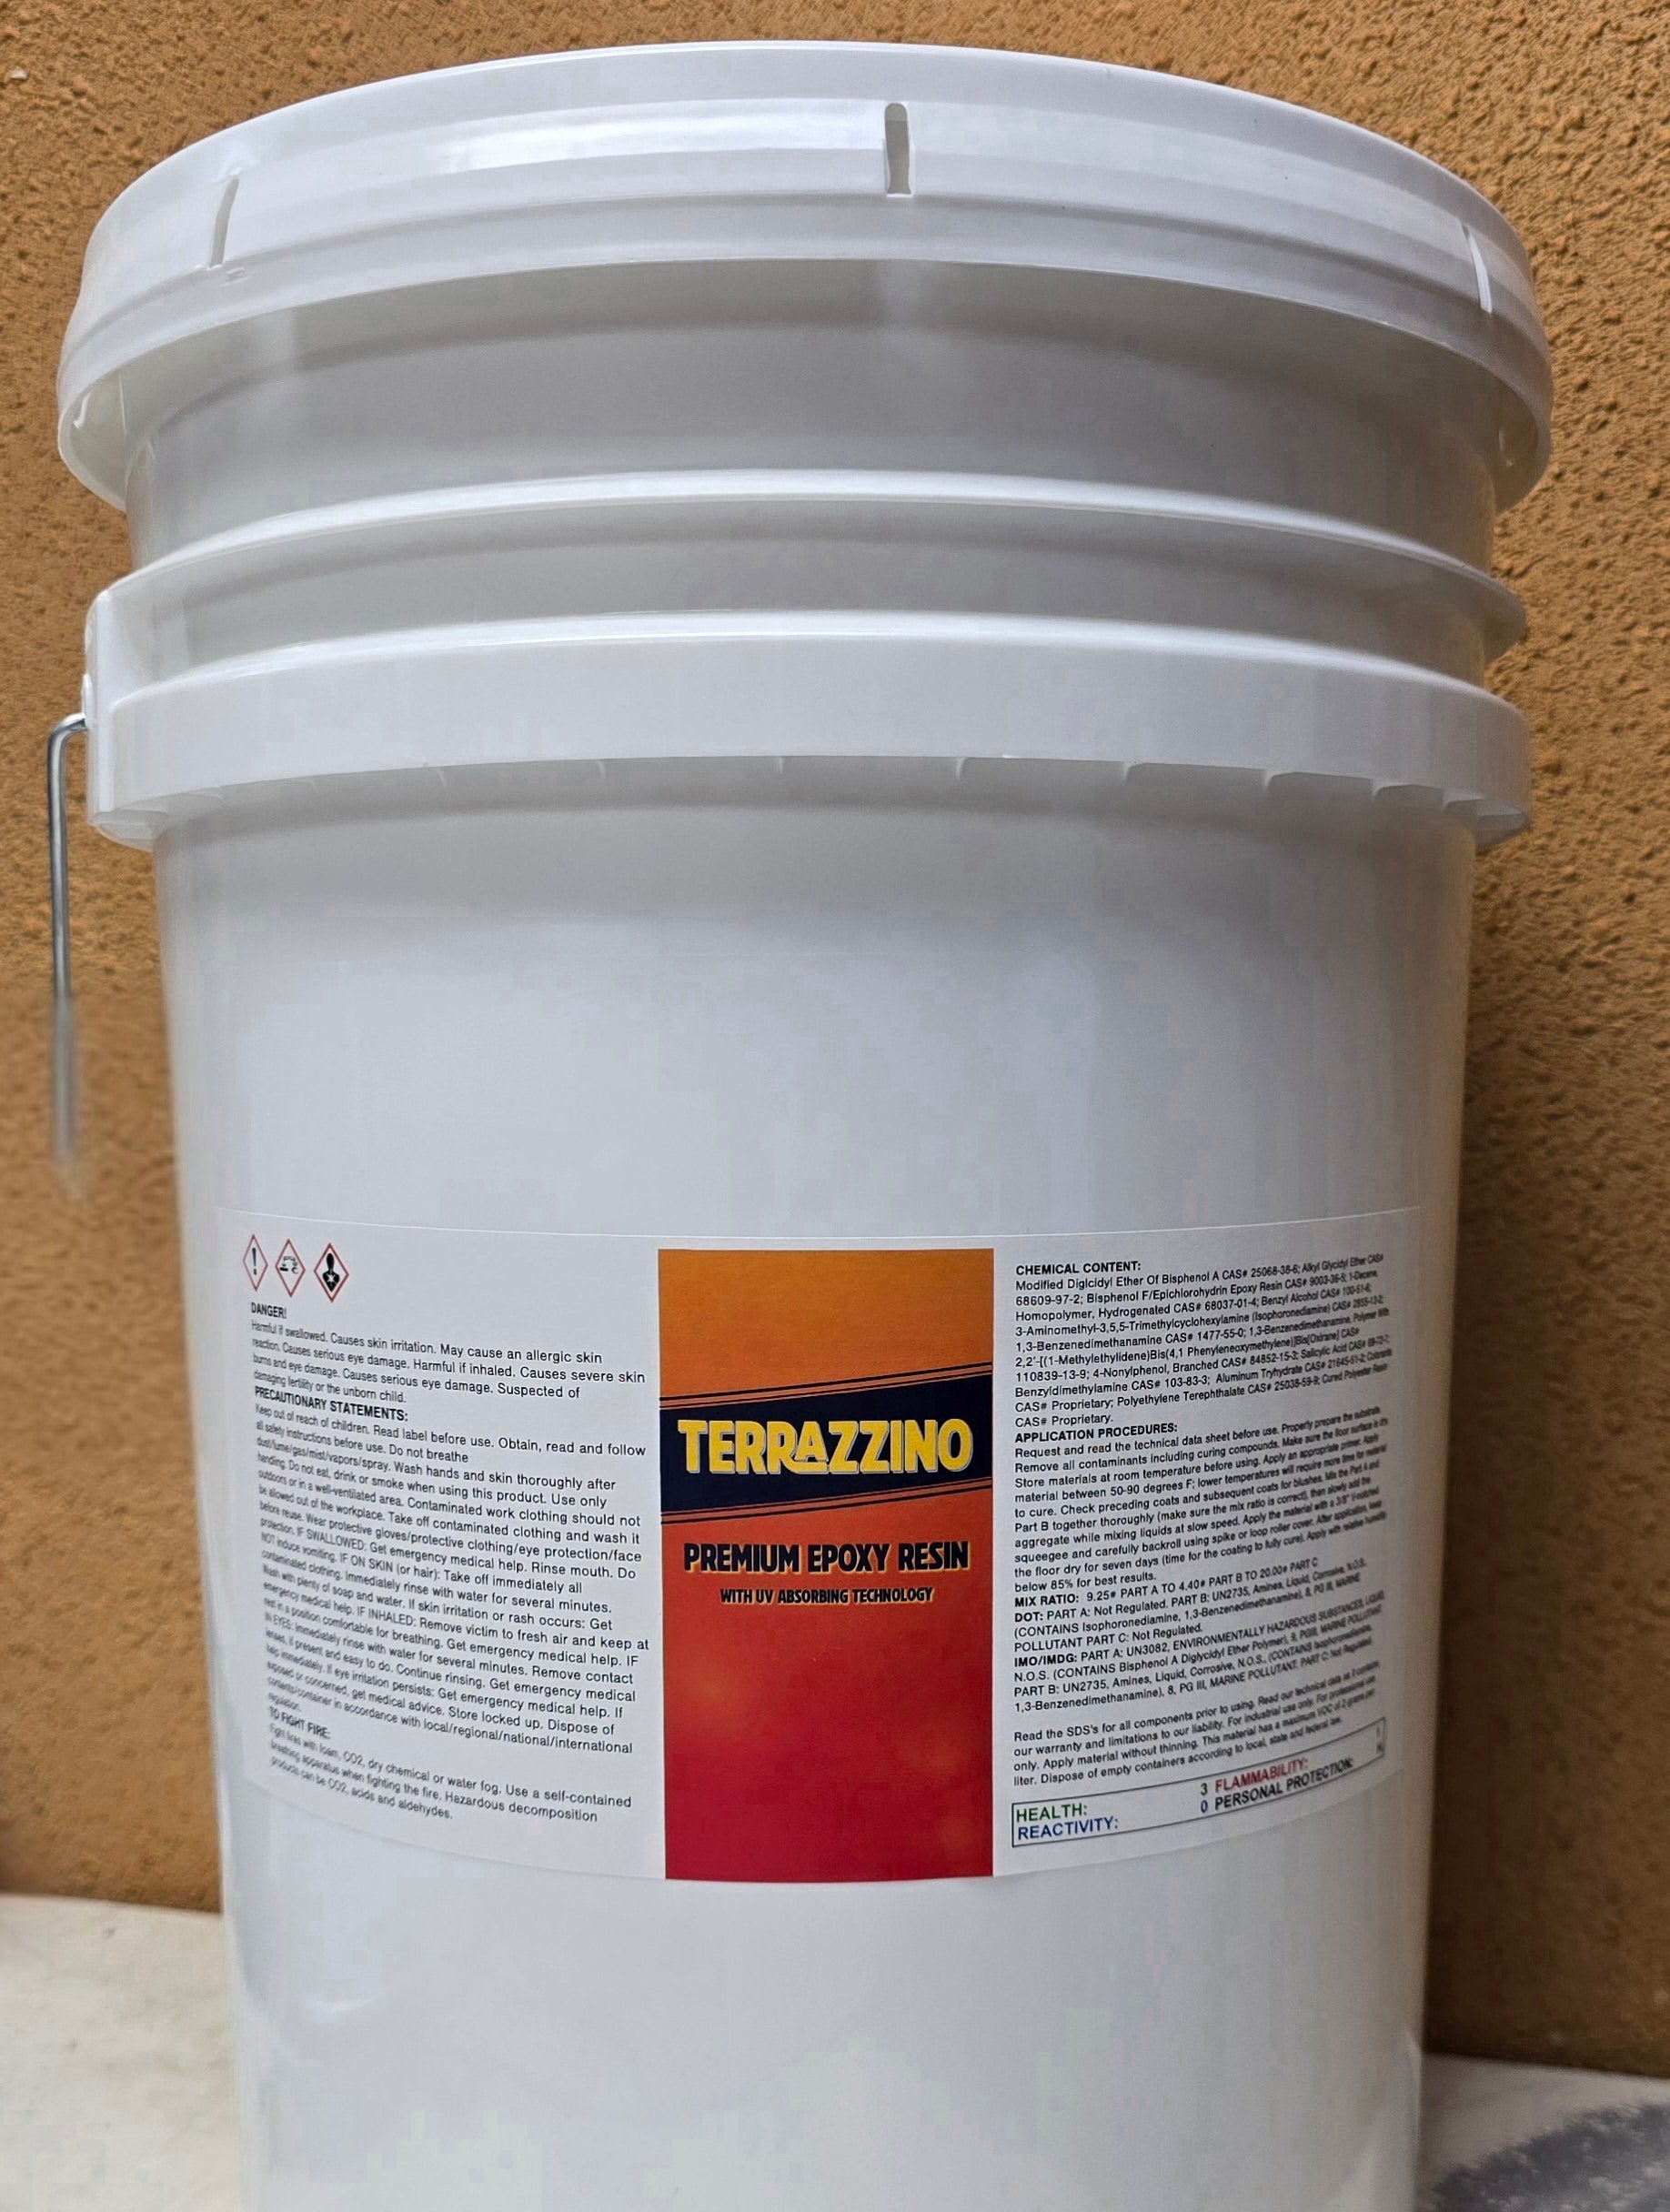
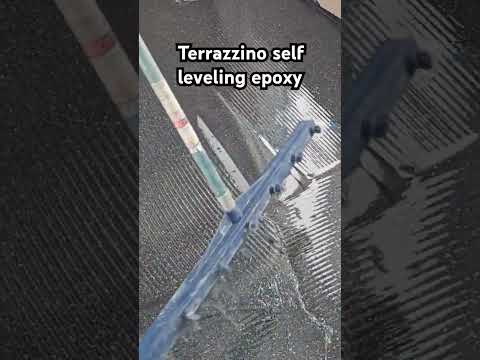
Terrazzino Epoxy Floor replicates the appearance of terrazzo and quartz flooring with a convenient self-leveling system that is simple to install. This 1.5 Gallon kit, available in 8 colors, includes Terrazzino Aggregate. To ensure a smooth application, use a 1/2" V notch squeegee or 1/8" PIN Rakes for even better results. Once applied and self-leveled, it should be rolled with a loop roller. 1 Kit will yield 60 sqft per kit. When ordering always order more so you don't finish short.
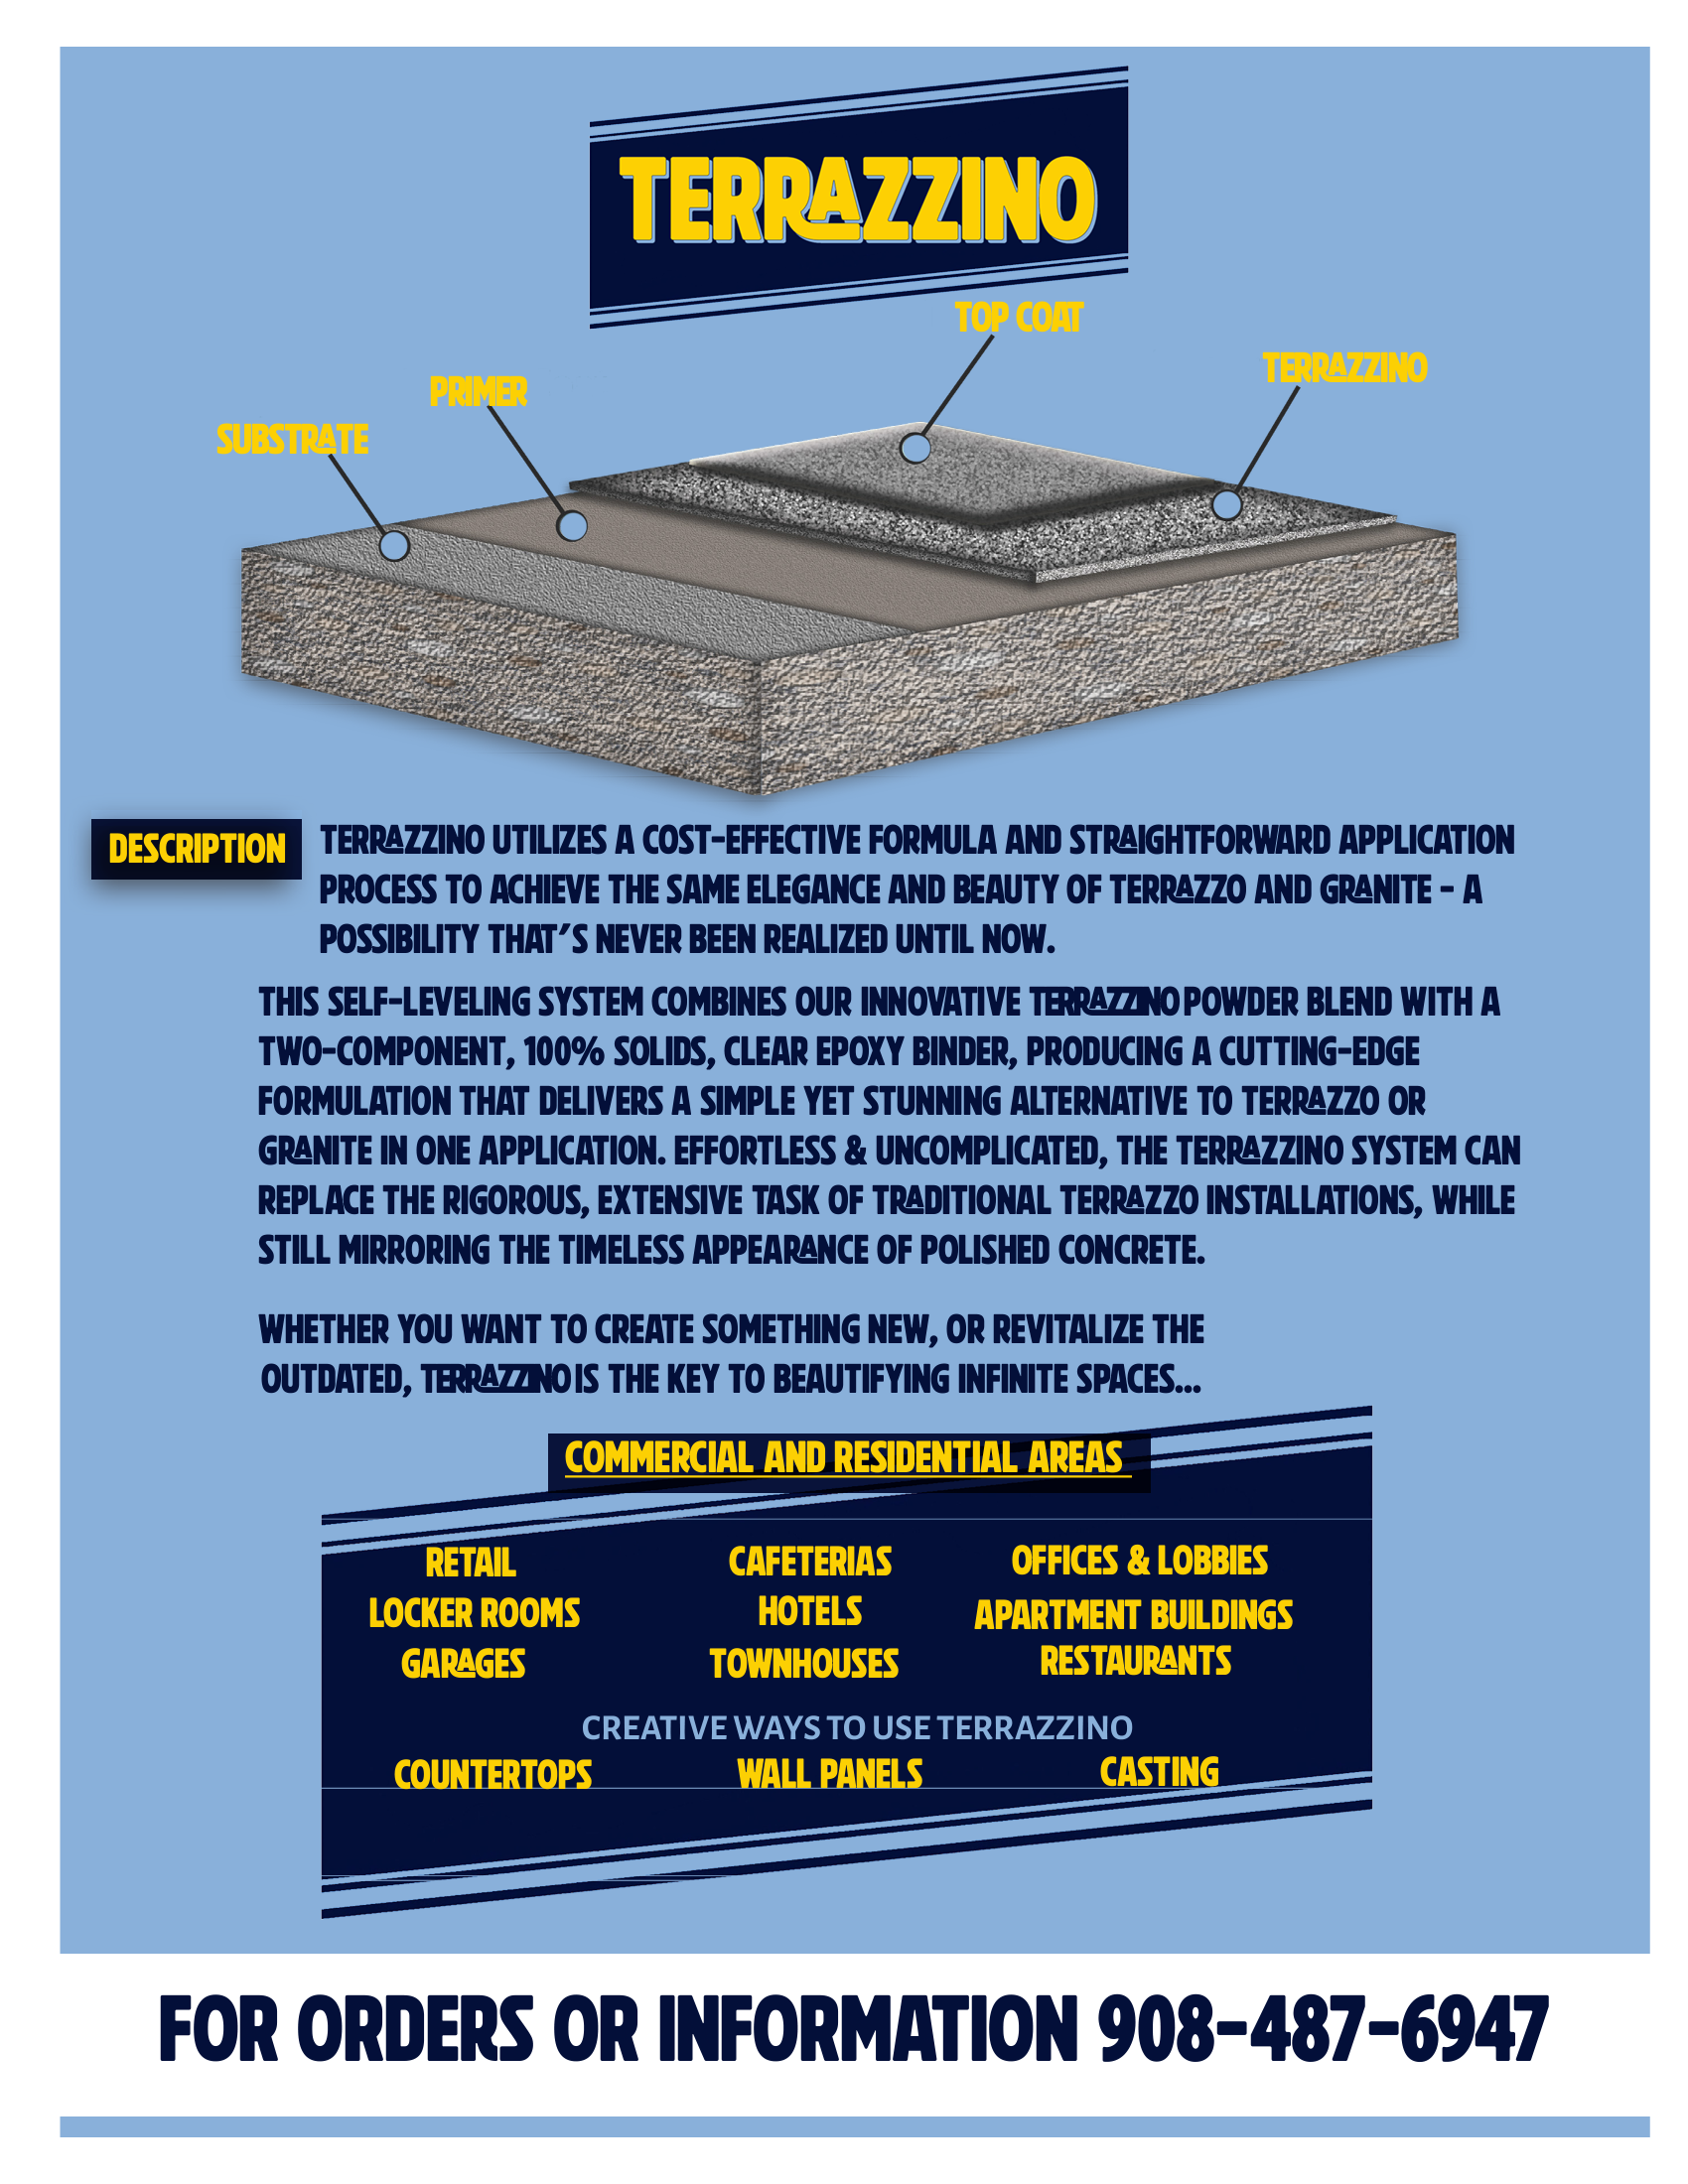
Terrazzino is a comprehensive system that includes various basecoats, such as moisture vapor barriers and pinhole reducing primers. For optimal results, it is recommended to prime twice and manually fill any pinholes before installing Terrazzino. For a high-gloss finish, customers can choose from options like Terrazzino satin finish urethane or Diamond Finish sacrificial coats. Institutions such as schools, museums, and hospitals that frequently maintain their floors with wax should consider installing 4-7 coats of Diamond Finish as a protective layer.
MUST READ INFORMATION: You have to install the primer or vapor barrier as step 1 and for step 2 you need to install a second primer or base coat! You must use the notched squeegees recommended for those products, for them to work correctly. Pinholes vary from floor to floor, if floor still shows tiny pinholes, you should use gorilla crack paste and fill them up individually, for a perfect finish.
Grinding Floor: You must grind the concrete floor, the flatter the better. Remove all dust and debris by vacuuming meticulously, you should be able to eat of the floor!
Crack and Hole Filling: Cracks and holes need to be ground open and filled with crack fillers like Gorilla Paste and other similar products. Holes and cracks should be filled slightly higher than the existing floor and ground FLUSH. You should be able to run your hand over the patch after grinding and it should feel smooth. Filled, Flush and Flat is the motto!
Primers: We have a variety of primers, in some instances where you have moisture issues and are slab on grade, you will use a Moisture Vapor Barrier first must be installed with a 12-15mil notched squeegee. Other cases we like to your our Fast Set WB primer using a 2-3 mil notched squeegee. Every floor is different, and to improve chances of reducing pinholes you must prime more than once. You can install 2 coats of the WB primer back to back since dry time is 1-2 hours and this might be perfect, we recommend installing a base coat after the primer, similarly to how you install metallic epoxies.
Base Coat: After priming ,you should look for pinholes and fill them, and install your base coat. This is a 100% solids epoxy that matches the color of your Terrazzino system. Lighter colors like desert require a beige coat, black can use black, classic will use medium gray and blue will use black, sesame will use fazor tan etc etc. Install this base coat at 80-100 sqft per gallon using the corresponding notched Squeegee.
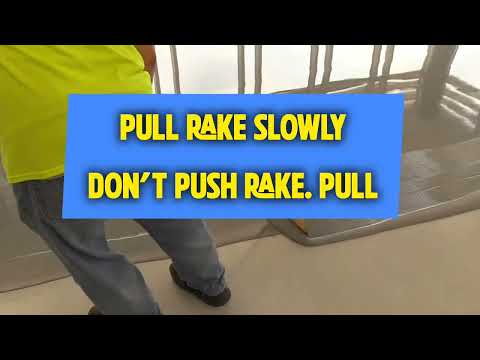
Terrazzino Coat: Before installation you will sand with 60-80 grit sandpaper vacuum and microfiber meticulously and then you will look for remaining pinholes. You can use Gorilla Paste to fill in those pinholes before installation. You can install wet on wet Terrazzino to Gorilla Paste. You will install Terrazzino with our 1/2" notched squeegee, we recommend using the notched squeegees we sell on this website, since they have been tested for sq. ft. yield. Other notched squeegee brands have different yields, make sure you test them before using your own. Mix material and make sure to pull material evenly, and after settling for 5-10 minutes, loop roll it using a 18" looped roller. Material will cure in 6-8 hours. Each kit will give your 60 sq. ft. a gallon. Make sure to order 10% extra material so you don't run short, or when estimating , estimate 50 sqft per gallon.
Top Coats: We have a variety of top coats you can install, the most scratch resistant top coat is the High Solids Urethane with Aluminum Oxide. If installing this top coat or other polyurethanes, you will sand the Terrazzino with a 100-200 grit screen sand paper. Vacuum meticulously so you can eat off the floor and install the top coat. We have WB polyurethanes in high gloss and satin finish as well that can be installed with notched squeegee and bankrolled using 2-3 mill notched squeegee.
Terrazzino Cera is a polymer coating that can be mopped on and maintained daily for a high gloss glass look with improved slip resistance. This is a high performance floor polymer, installed and maintained similarly to wax coatings. This is perfect for hospitals, schools and places where they maintain their floors, buff them weekly and strip and install wax over throughout the year. This is the 4th option for your top coat and if you go this route, do not sand the floor. You will install 3-4 of these coats on top and buff it with white pad for maximum shine and resistance. Make sure your floor is loop rolled perfectly and flat, because you will not be able to sand it with 100, realistically you can sand with 100 then a 200 grit sand screen, the higher the better and install 5-6 coats of Terrazzino Cera and it will cover any scratch!
Installing Terrazzino can be simple but like any decorative epoxy system, it takes skill and great attention to details! Make sure you watch our content and always practice before taking on major projects. You can call us and if your project is large enough we may physically visit you and help your run the project, otherwise you can get in touch with us and we can provide you with expert advice on how to run the project.
Share
